
Making A Magnetic Knife Rack

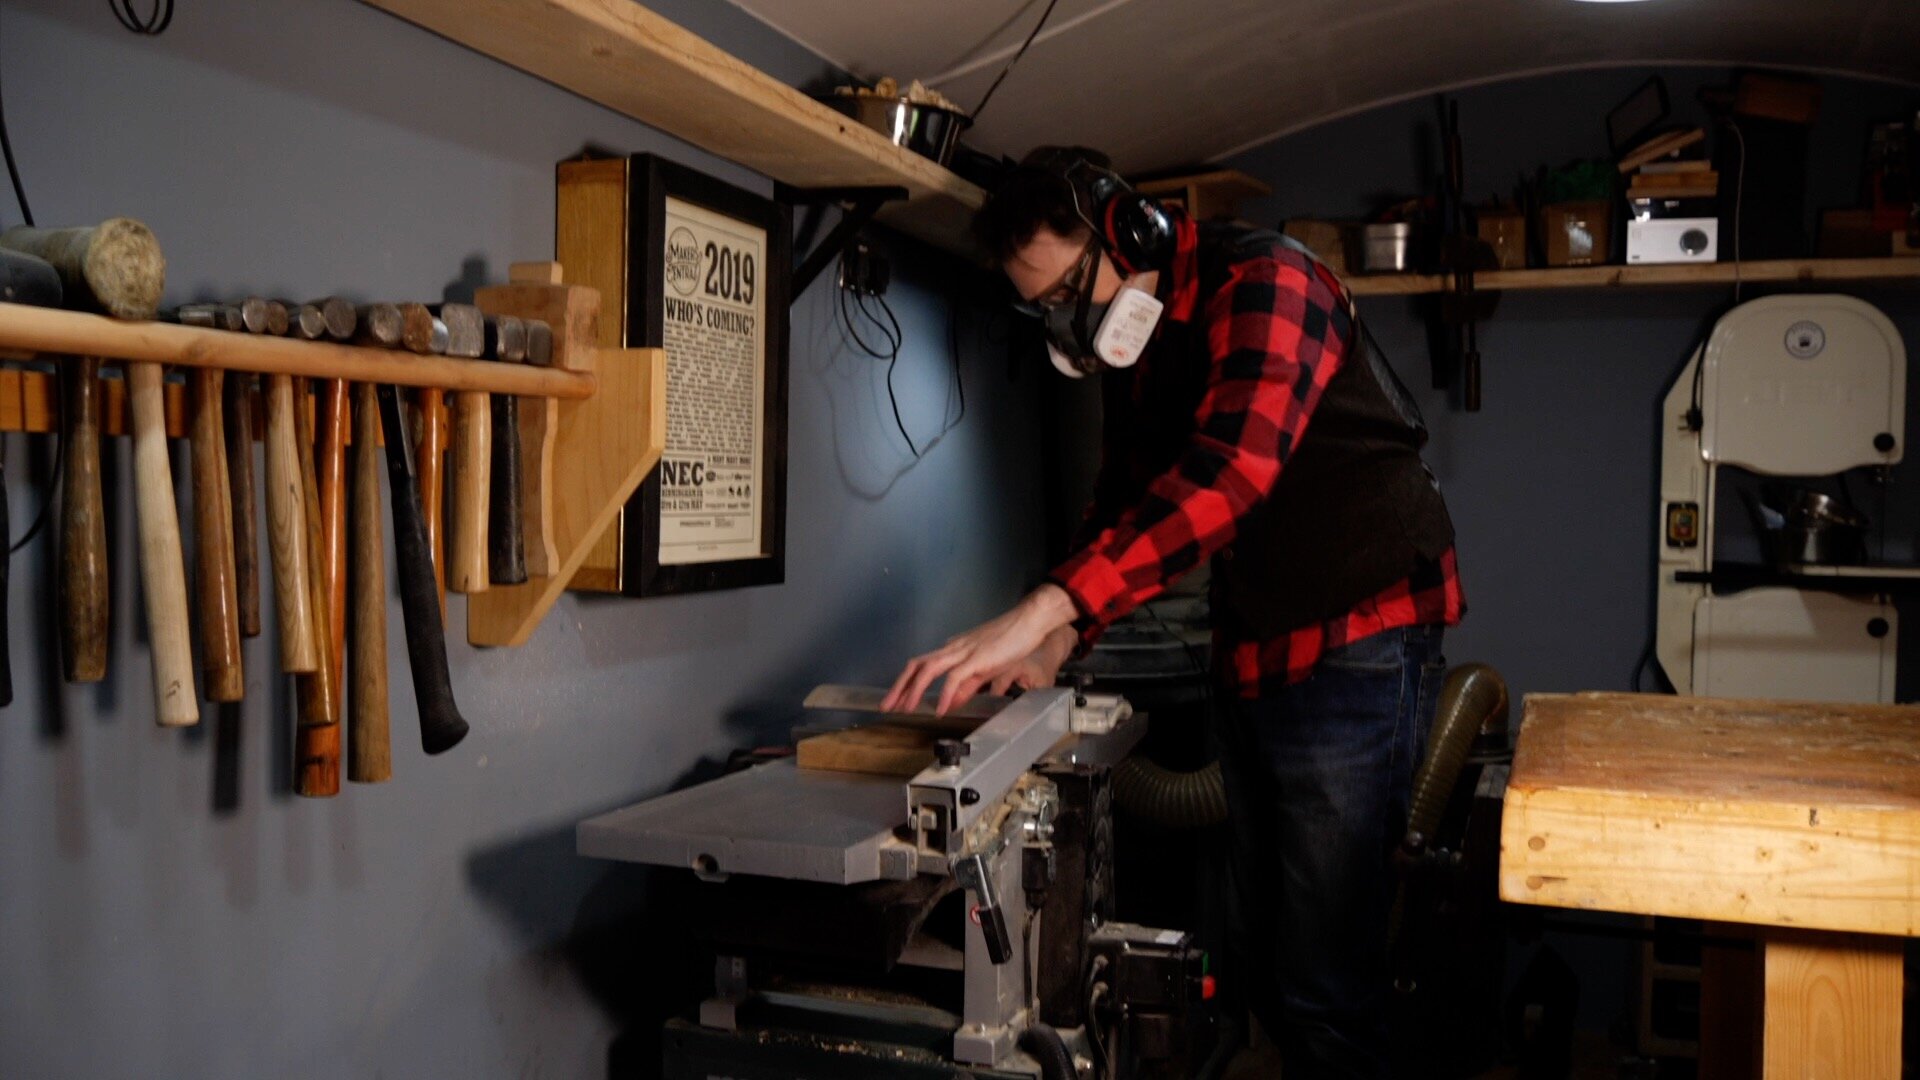
The day I moved into my current house, I shoved my kitchen knives into a drawer and they have remained there ever since. This is not the best way to store knives, as the blades can bang together - so I wanted a better solution. Having already made an oak spice rack for the kitchen, I decided to make a magnetic knife rack, also from oak.


I laid out my knives and measured how long the rack needed to be. I marked this out on a rough sawn oak board and cut it to length on the mitre saw. I could then plane and thickness the board to clean it up.


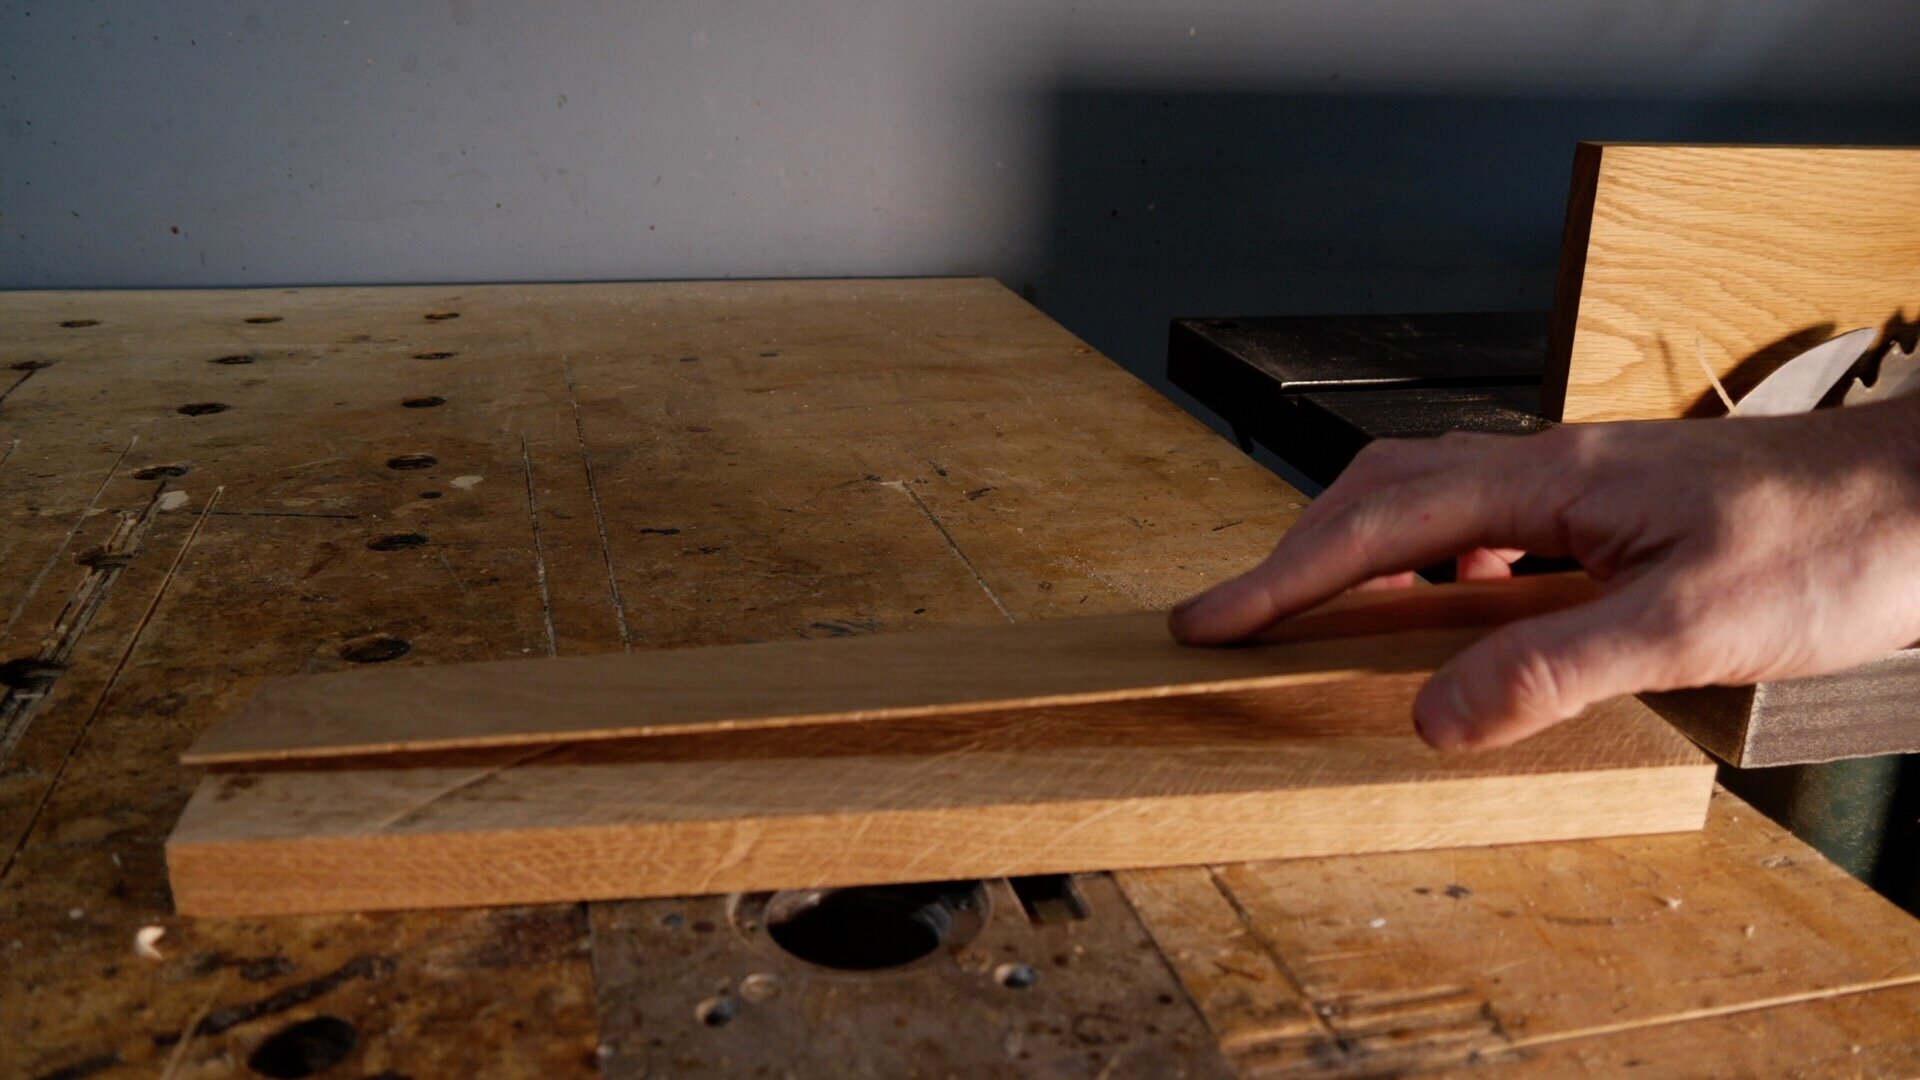
Using the table saw, I ripped the board down to the height I wanted. I then turned the oak on its side, and moved the table saw fence over so I could cut off a thin strip (The plan was to set some magnets into the thicker piece of oak, and to hide them with the thin piece I just ripped off).
These are the magnets I used:
https://www.amazon.co.uk/ideas/amzn1.account.AETIUKSHRXS4776OFAAYMALBVEMA/24TW7OFIGVKHC?ref=exp_idea_aff_vl_badgerworkshop

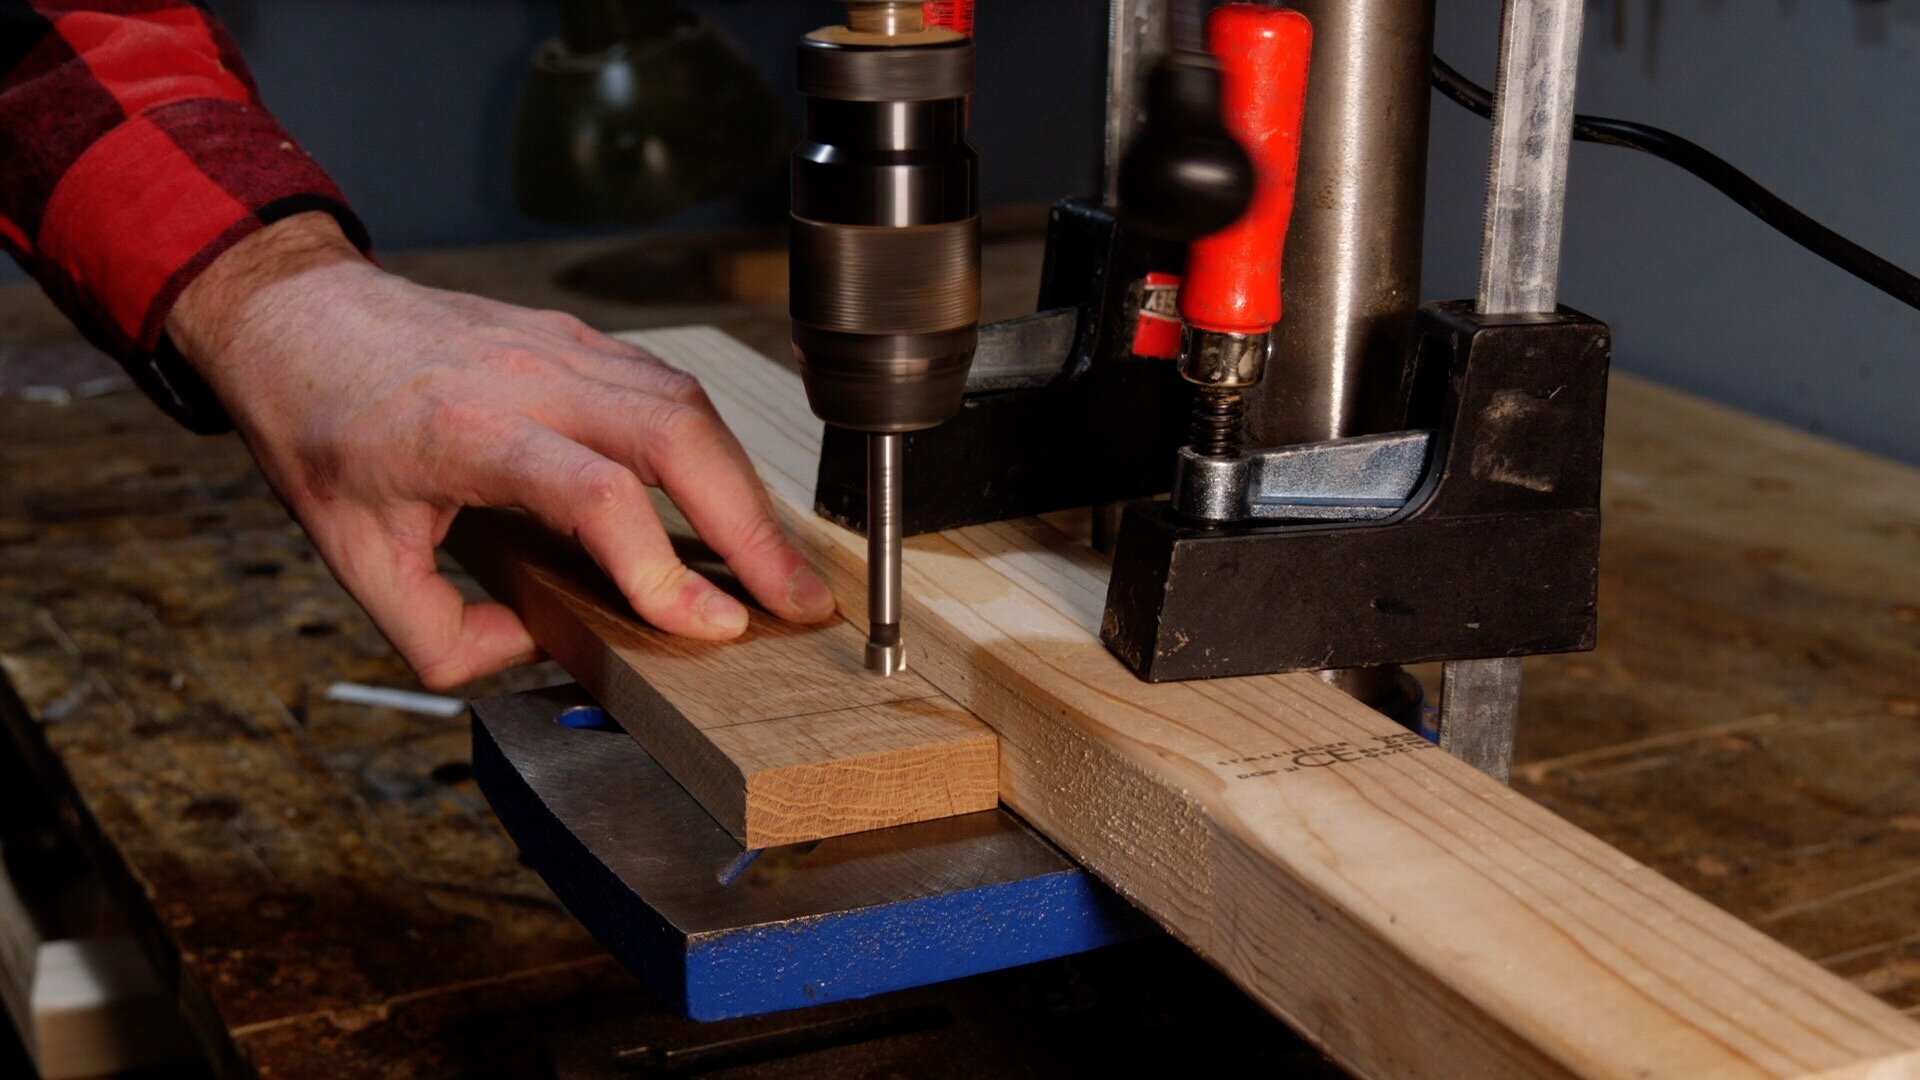


To insert the magnets, I clamped a temporary fence to the drill press, and used a 10mm Forstner bit to drill a series of holes down to the depth of the magnets. With one line complete, I turned the oak around and drilled another row.
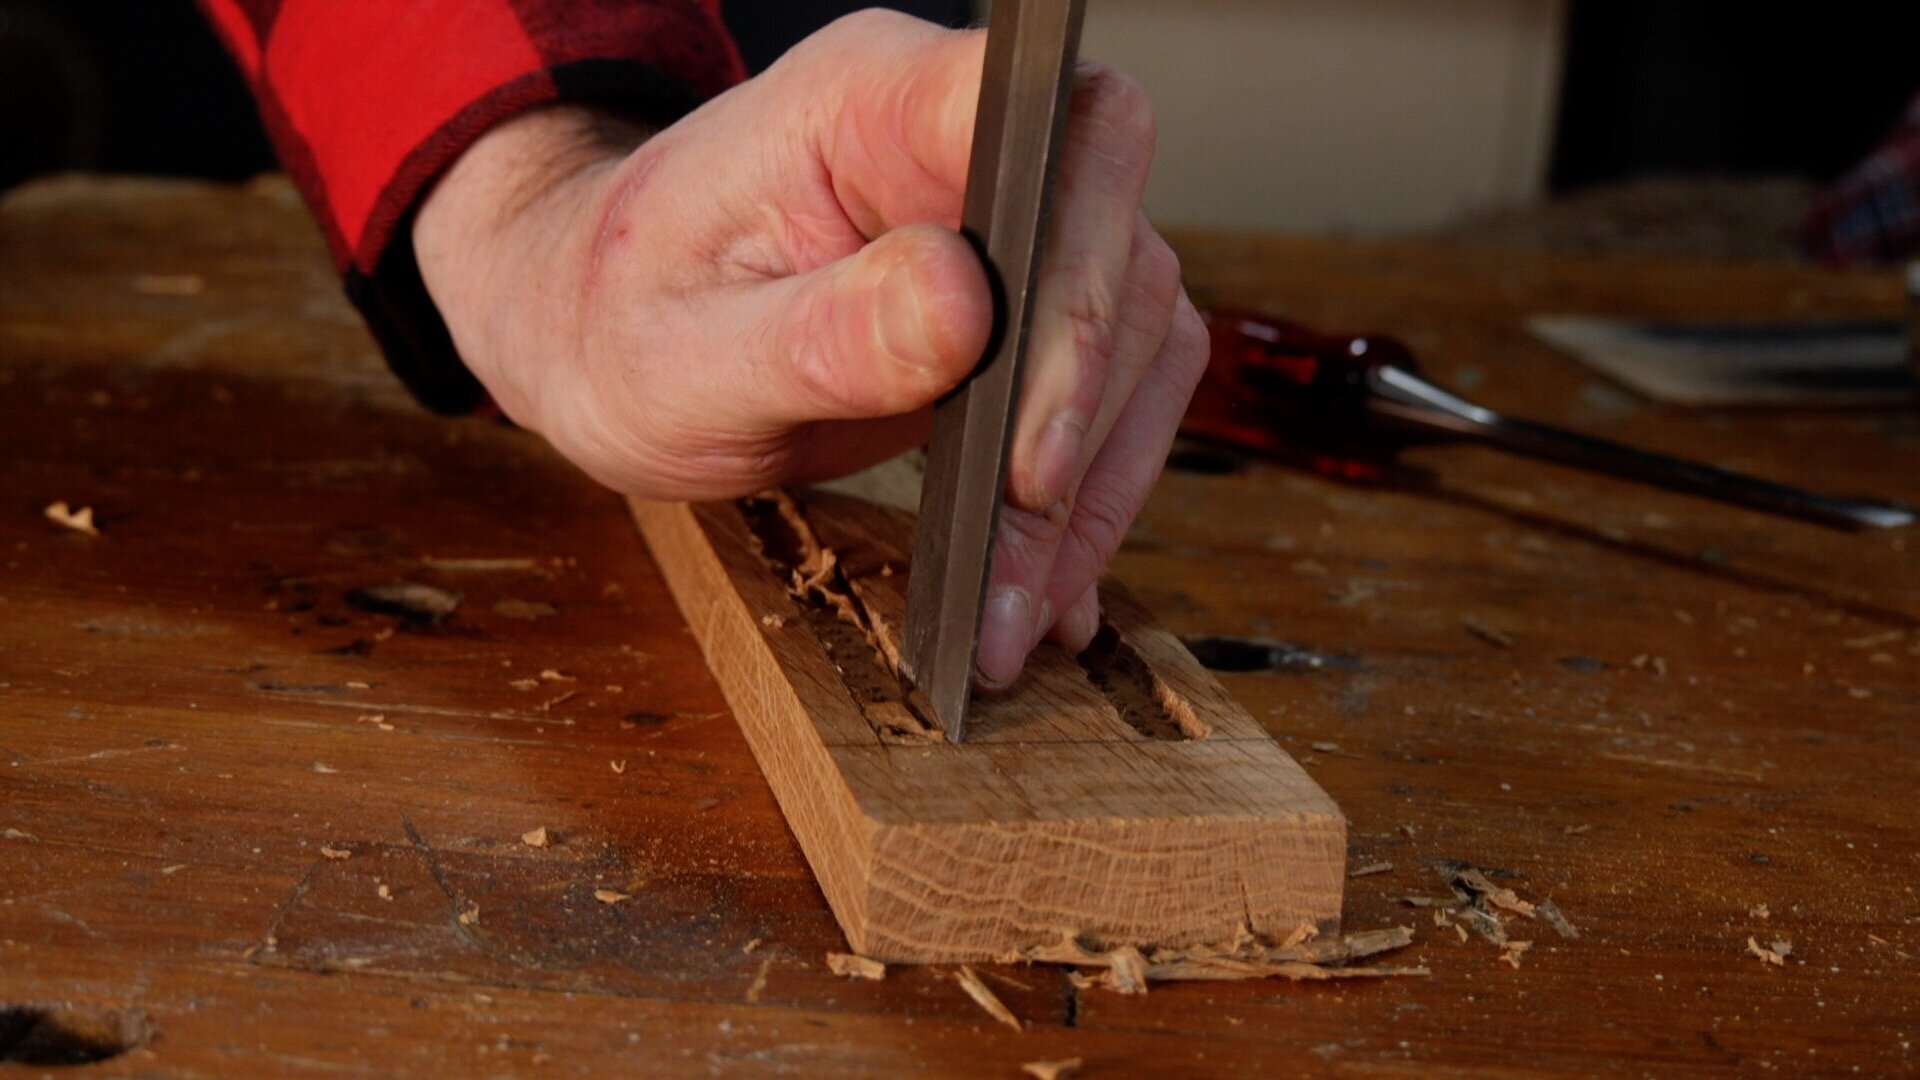
These slots needed a bit of a clean up, for which I used a chisel and mallet. To fix the magnets into place, I mixed up a batch of epoxy, spread it into the slots, and pushed the magnets into place.


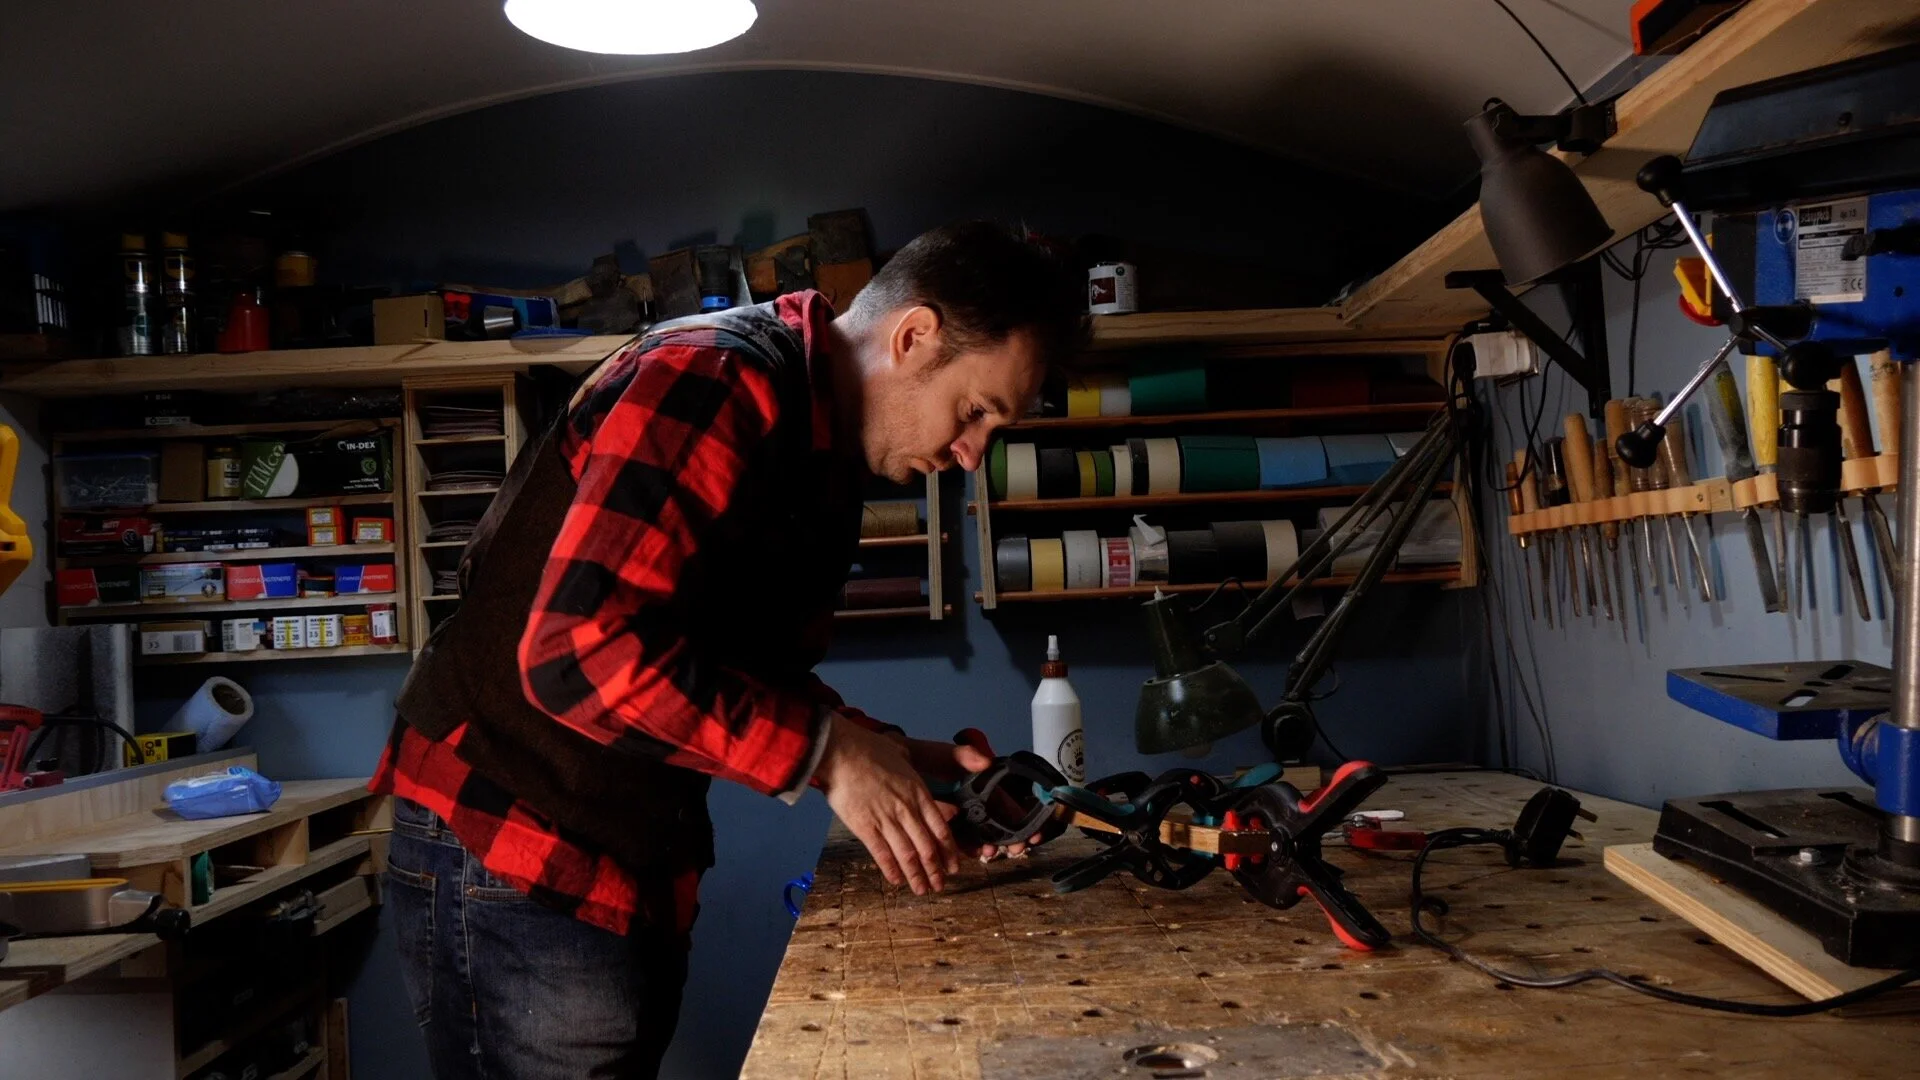
Once the epoxy dried, I glued the two pieces of oak together. I spread some PVA wood glue on one piece of the oak, sandwiched the two together, and held them together with some spring clamps.

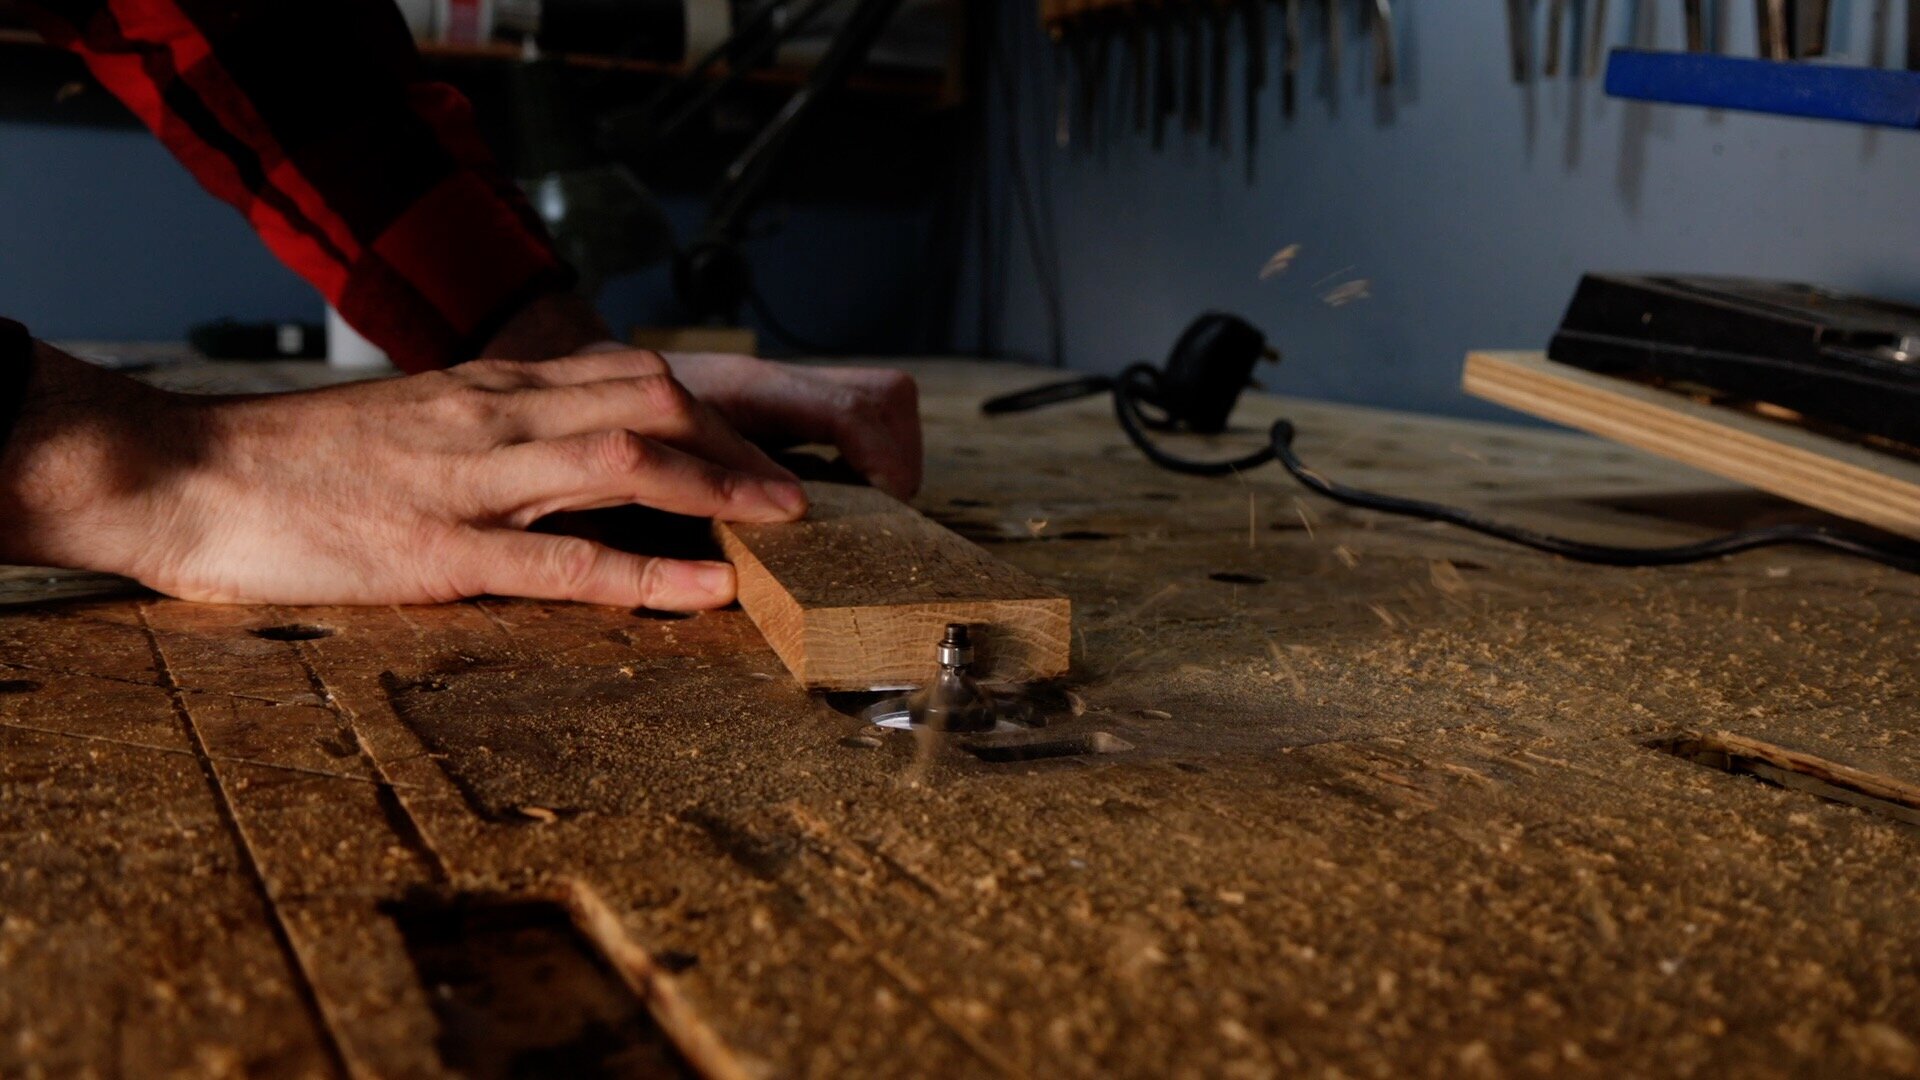
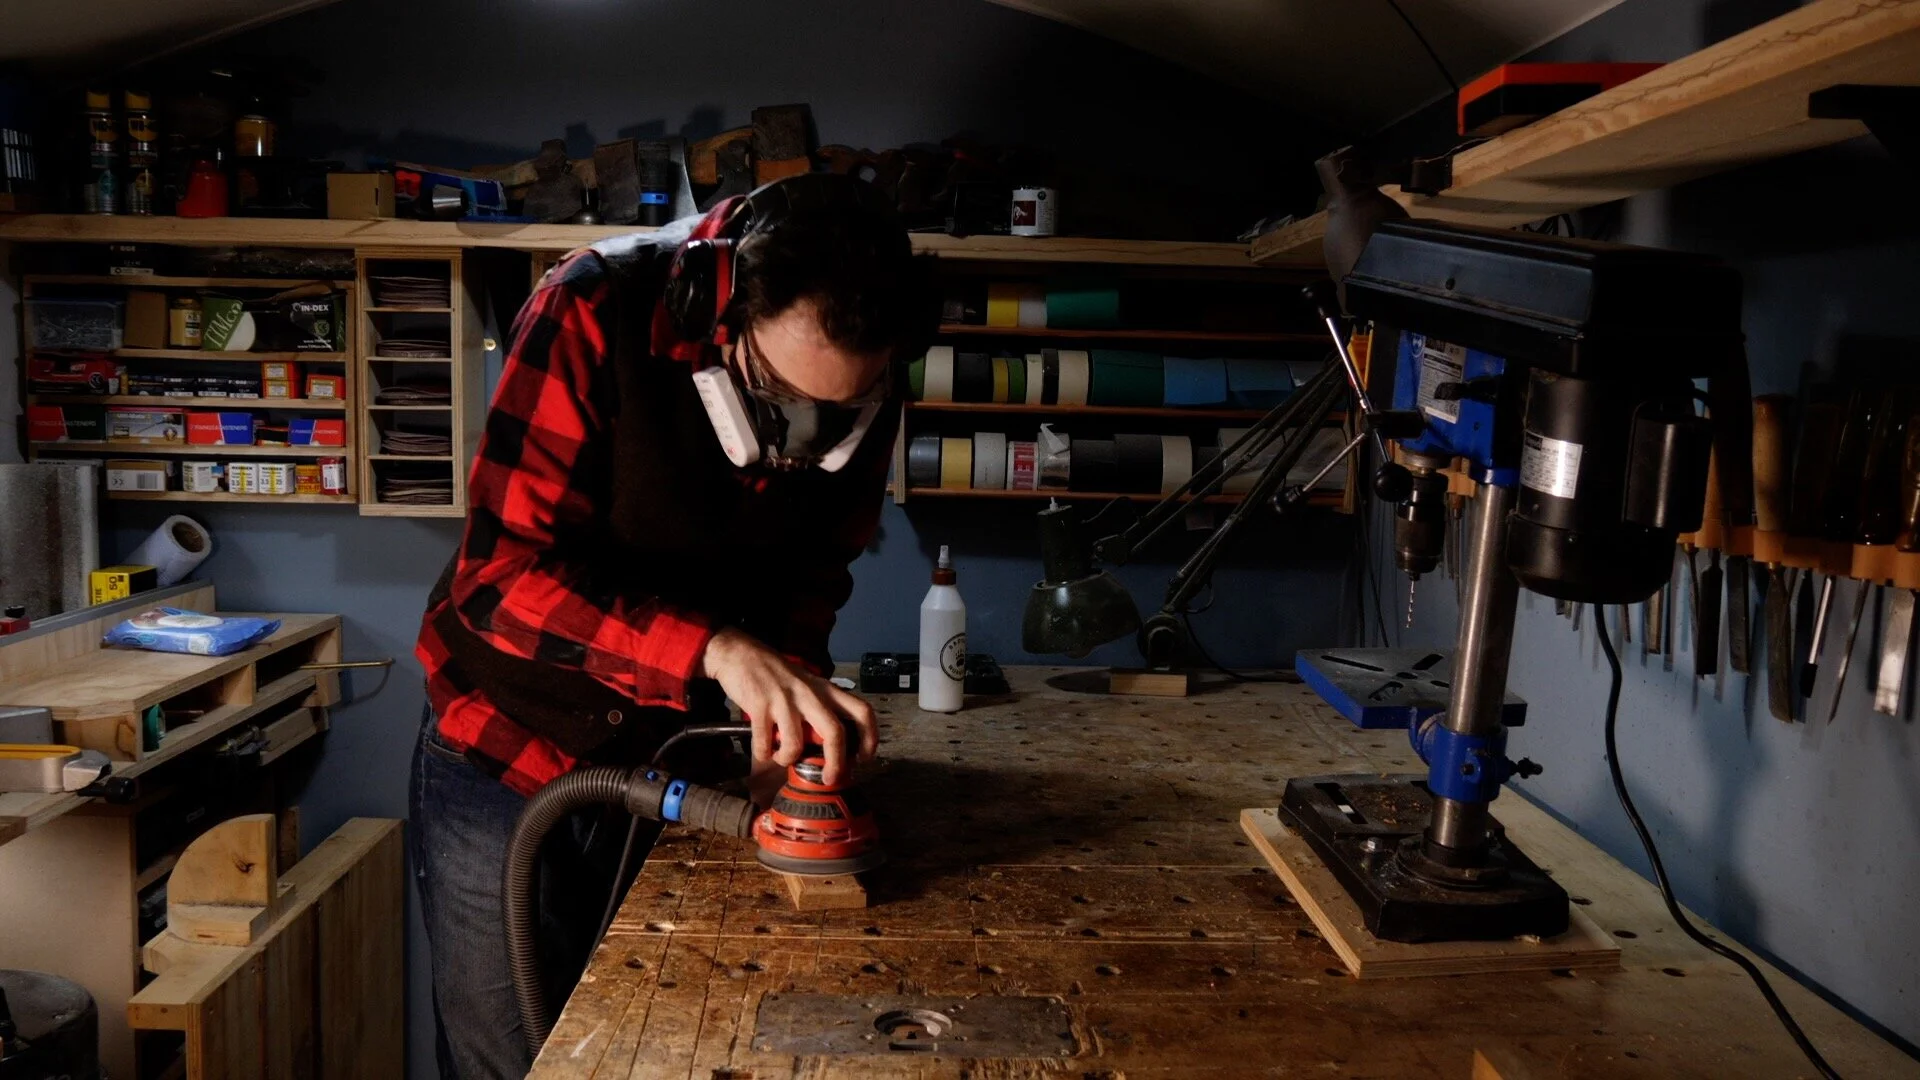
To make the shape a little more interesting, I used a round over bit in my router table to add a profile to the edge of the rack. I then used the random orbital sander to sand it all down.


I needed a method of attaching the rack to the wall. I decided to go for some brass inserts that screws could be put through. I drilled a hole in either end to accept them. I put a dab of CA glue in each hole and tapped the inserts into place. When the glue was dry, I applied some hard wax oil finish as it is nice and hard-wearing.


That’s it all done! Please watch the video below for more information; and on how to build a kitchen roll holder...