
Making A Camera Studio Stand

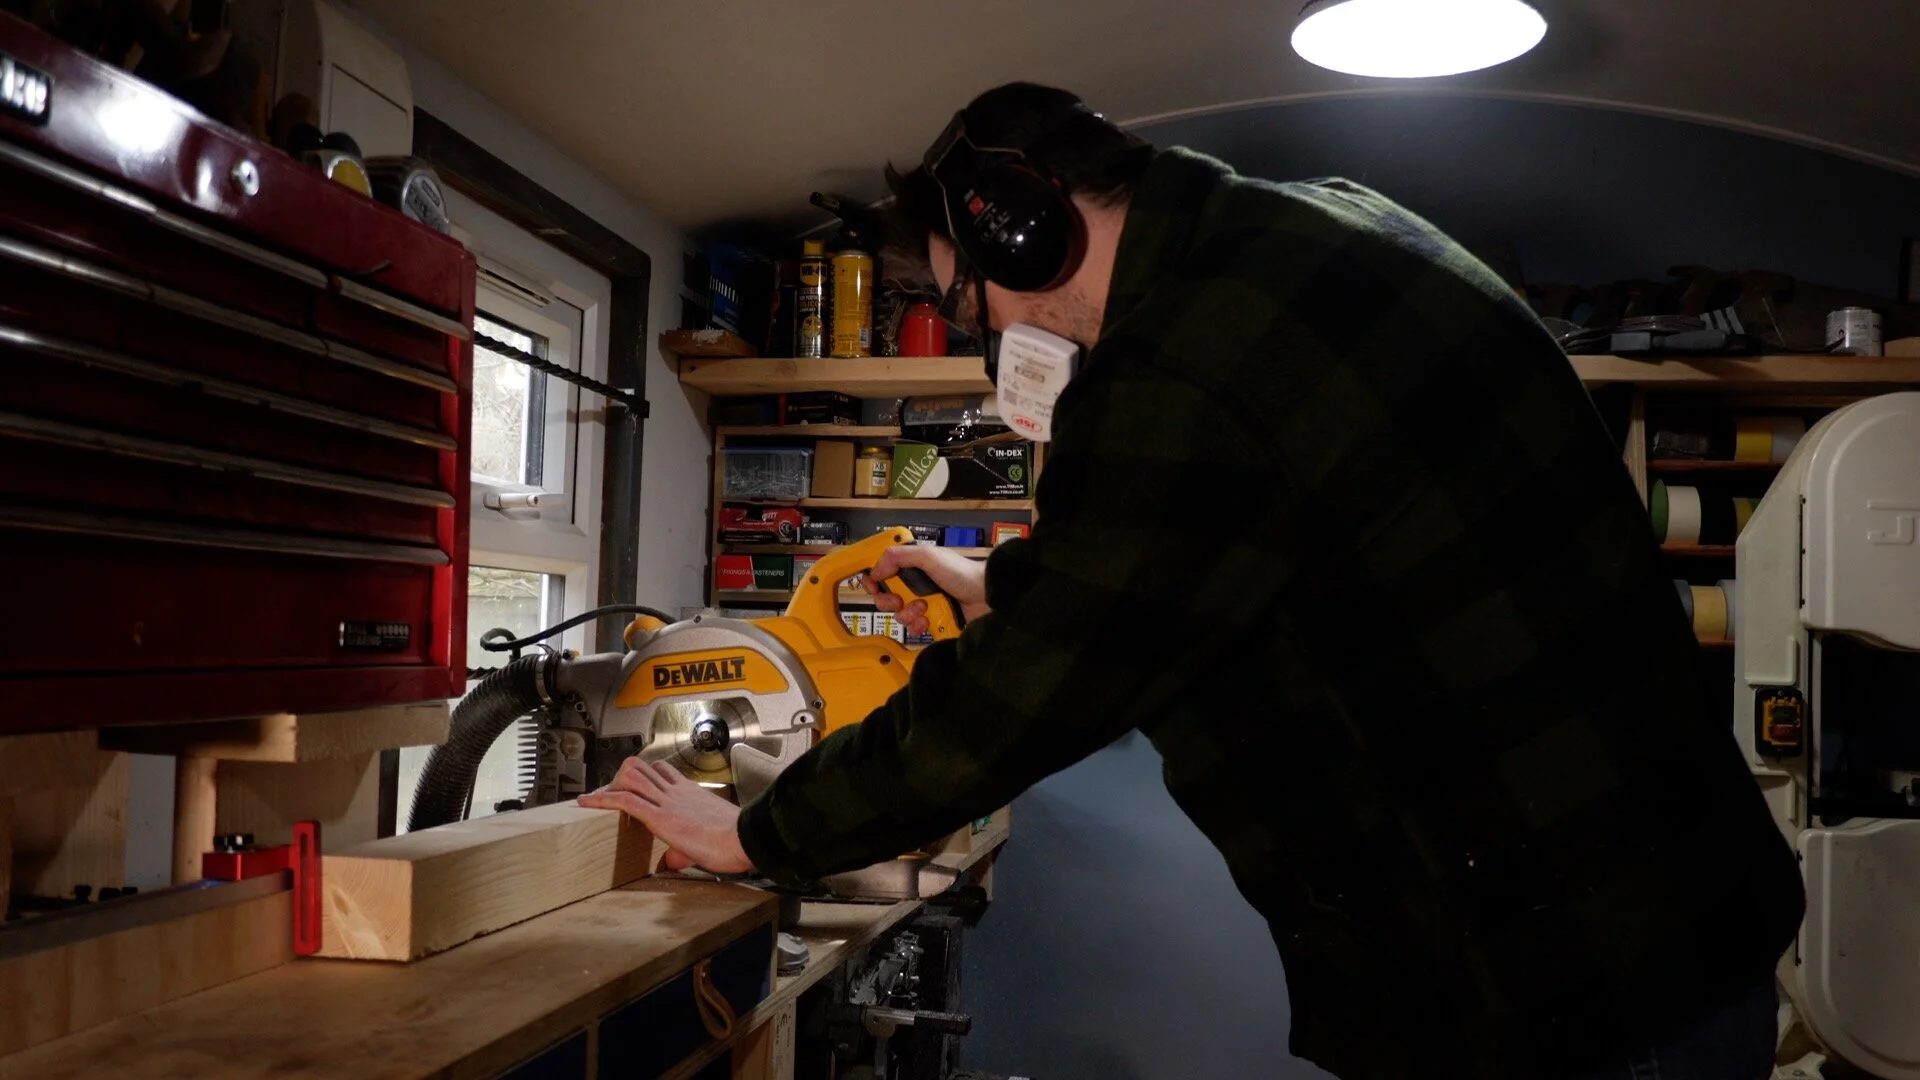
I have been using a tripod in the workshop to film and take pictures of my projects for years now. This has always got in the way and taken too long to setup different shots, but a studio camera stand is extremely expensive. I thought I could have a go at making one for a fraction of the price….
I started by gathering the parts I needed:
Some scraps of wood (which I already had)
Scaffold pole and basket
4 casters
Manfrotto magic arm
Manfrotto super clamp
Manfrotto stud
Camera ball head
(A lot of the tools and materials I use can be found on my Amazon page.)
https://www.amazon.co.uk/shop/badgerworkshop

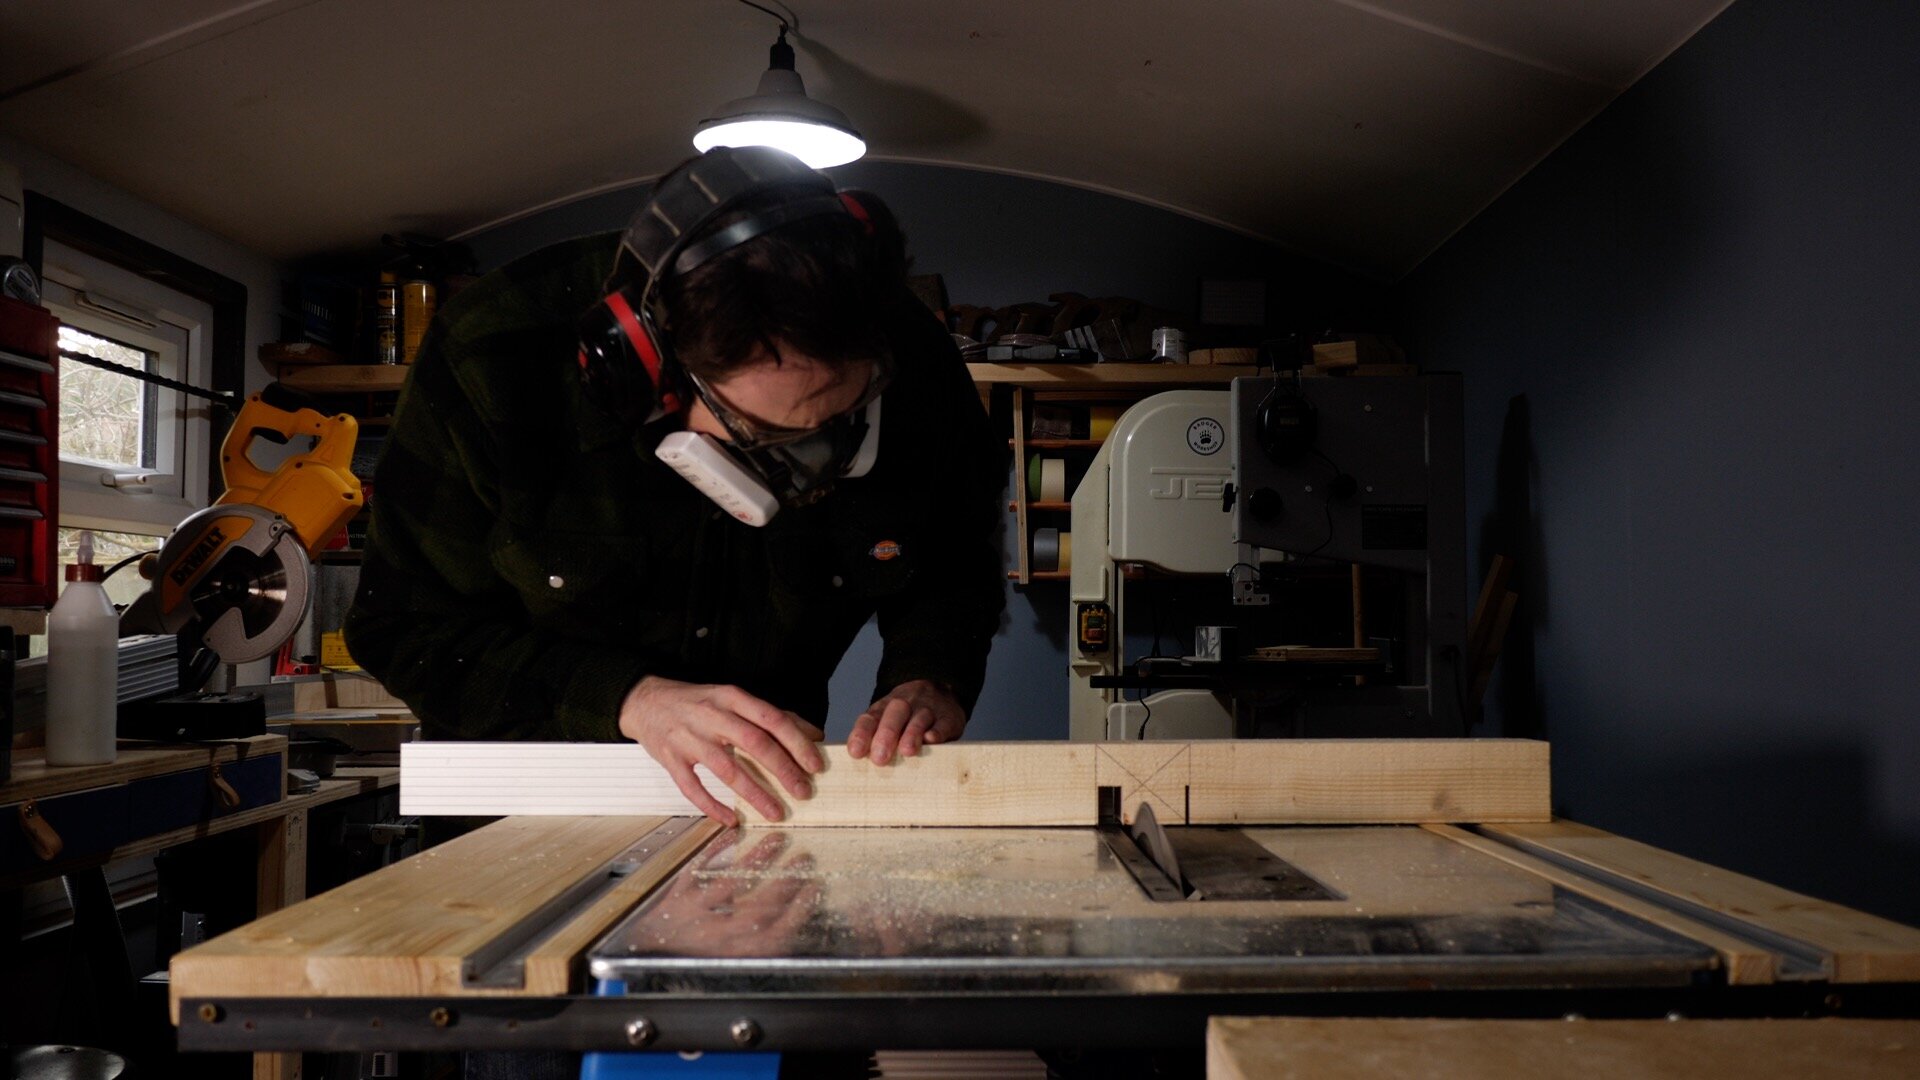
The first thing I did was trim the pieces of wood to all the same length on the mitre saw.


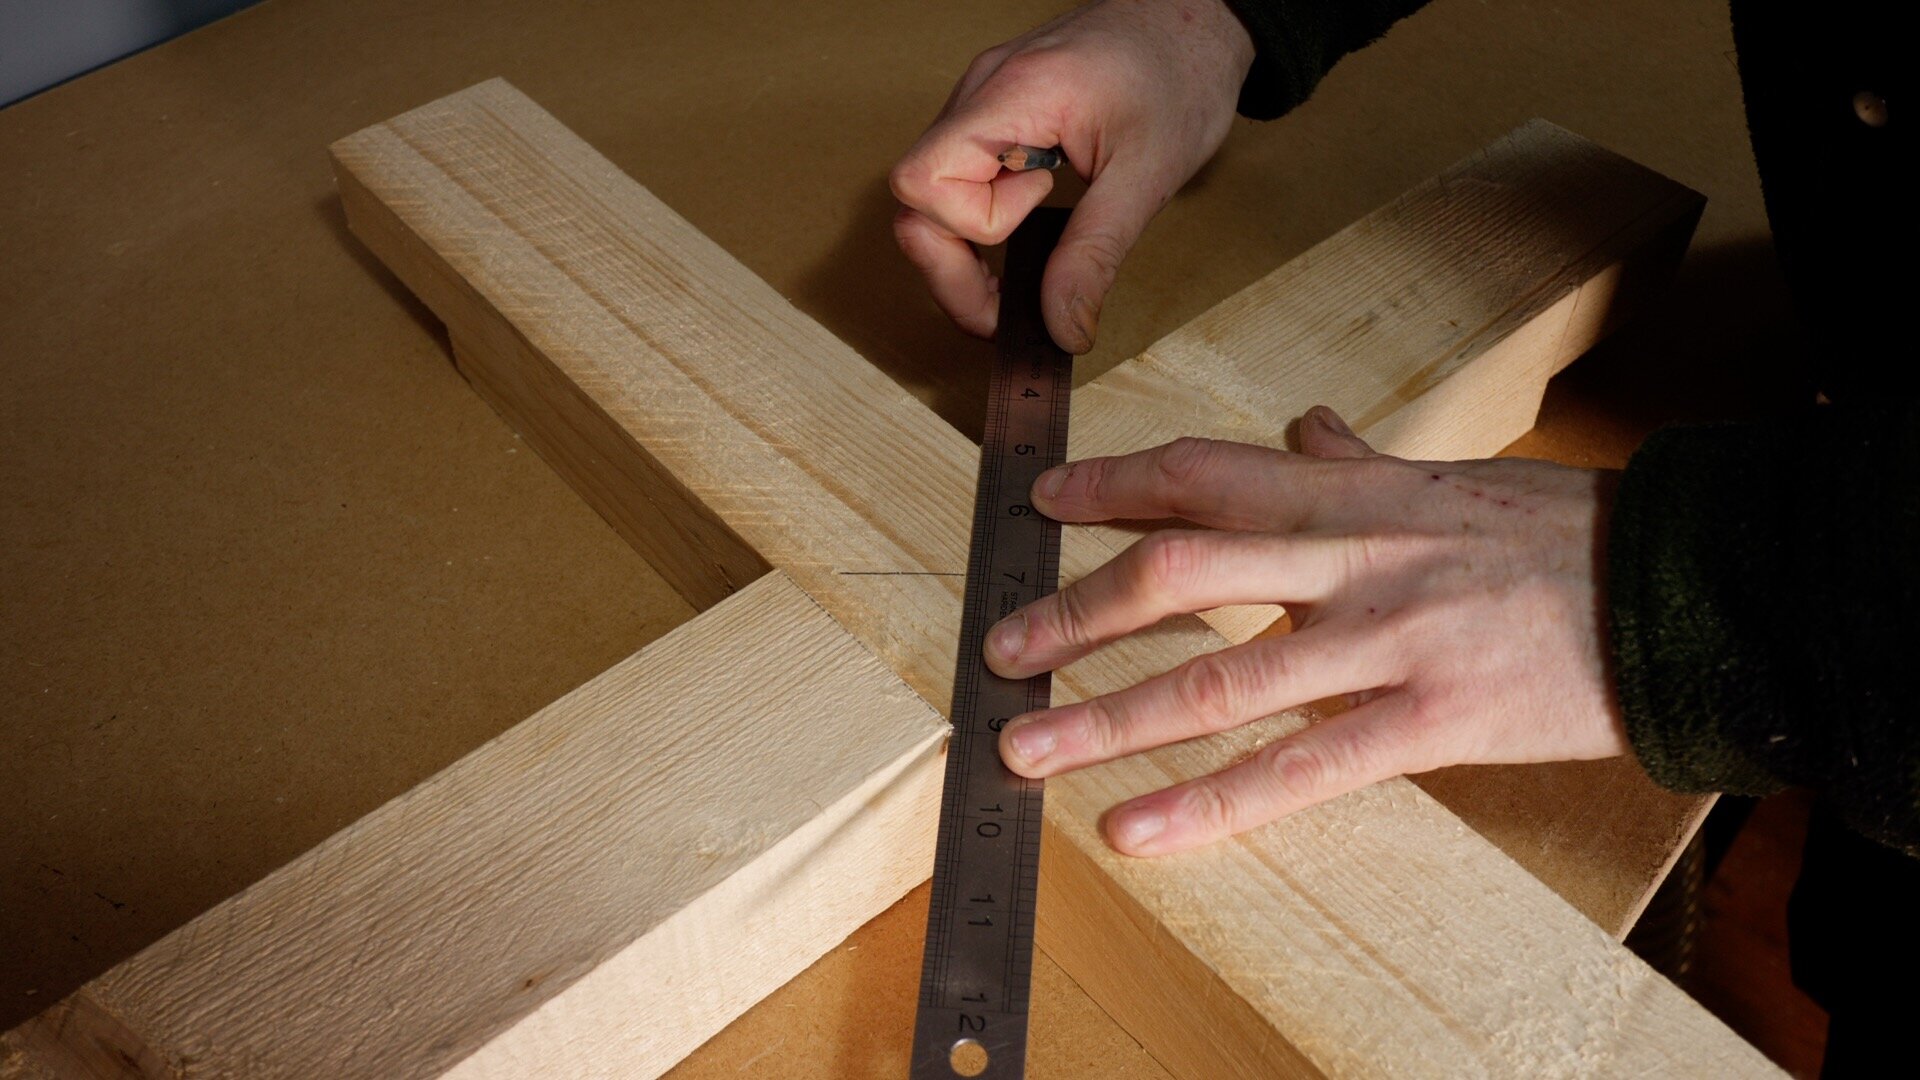
I wanted to join the two pieces of wood together in a cross, so I marked out the point where they overlapped. I then marked out the centre point on the wood.


I raised the blade on the table saw until it reached the centre mark, then used the mitre gauge to push the wood through the saw, and nibble away the waste material on both pieces of wood.


With both the slots cut, I was able to conduct a test fit. I was happy with the fit, so I moved on to fitting some casters.

The casters could simply be fitted to the bottom of the wood, but I wanted them to be recessed. I marked out where I wanted the recess to be, then took the wood back to the table saw to cut away the waste material.


With the cuts made, I was able to use some PVA wood glue to attach the pieces together and get them clamped up.

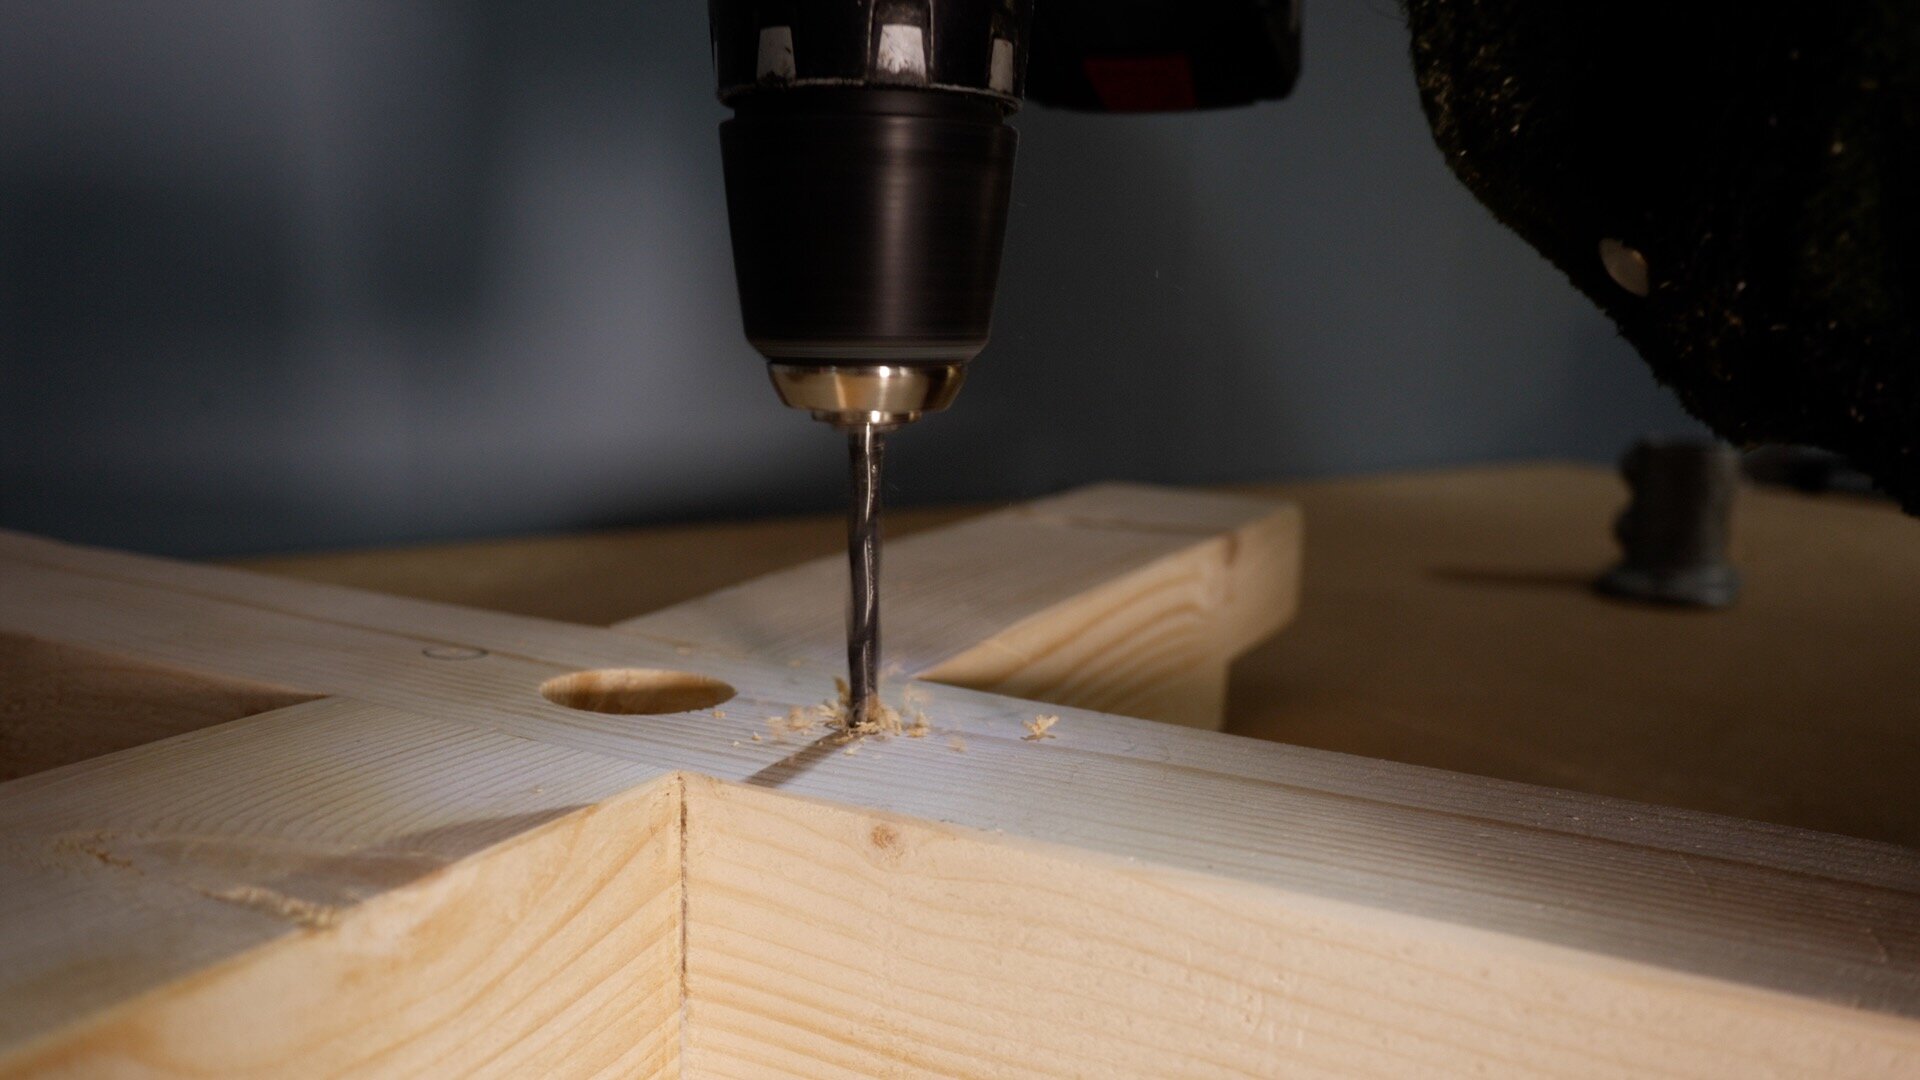
I wanted the scaffold pole to fit into the centre of the cross, so I marked out the centre point, and purchased a Forstner drill bit the same size as the pole. I used this to drill a hole 40mm deep.


I gave the cross a quick sand down, then positioned the bracket for the pole over the drilled hole, and marked out where the screws needed to go. I then drilled a couple of pilot holes to accept the screws.


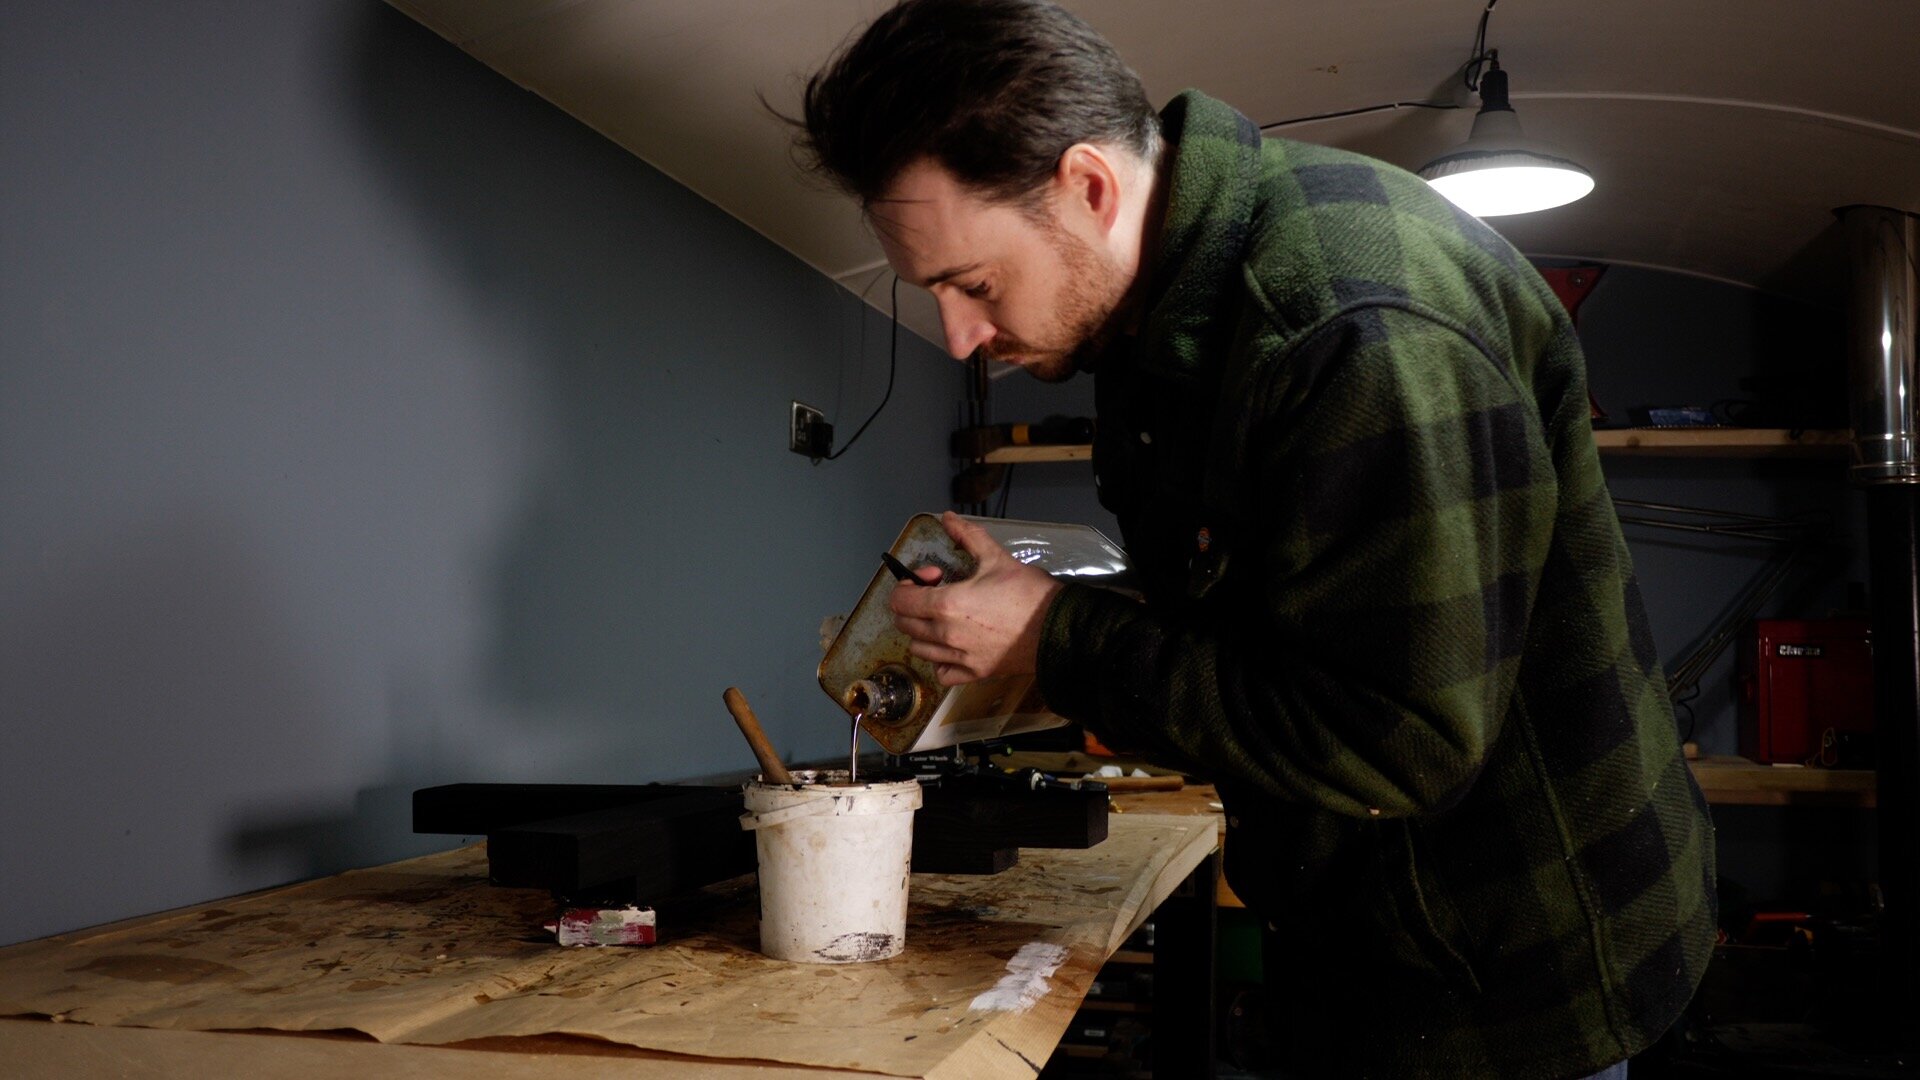
To offer some protection (and to make it look cool) I stained the wood black using India ink then applied some Danish oil.


The craters come with holes larger than the heads of my screws, so I slipped a washer over them. I was then able to drive them into the wood, fixing the casters into place.

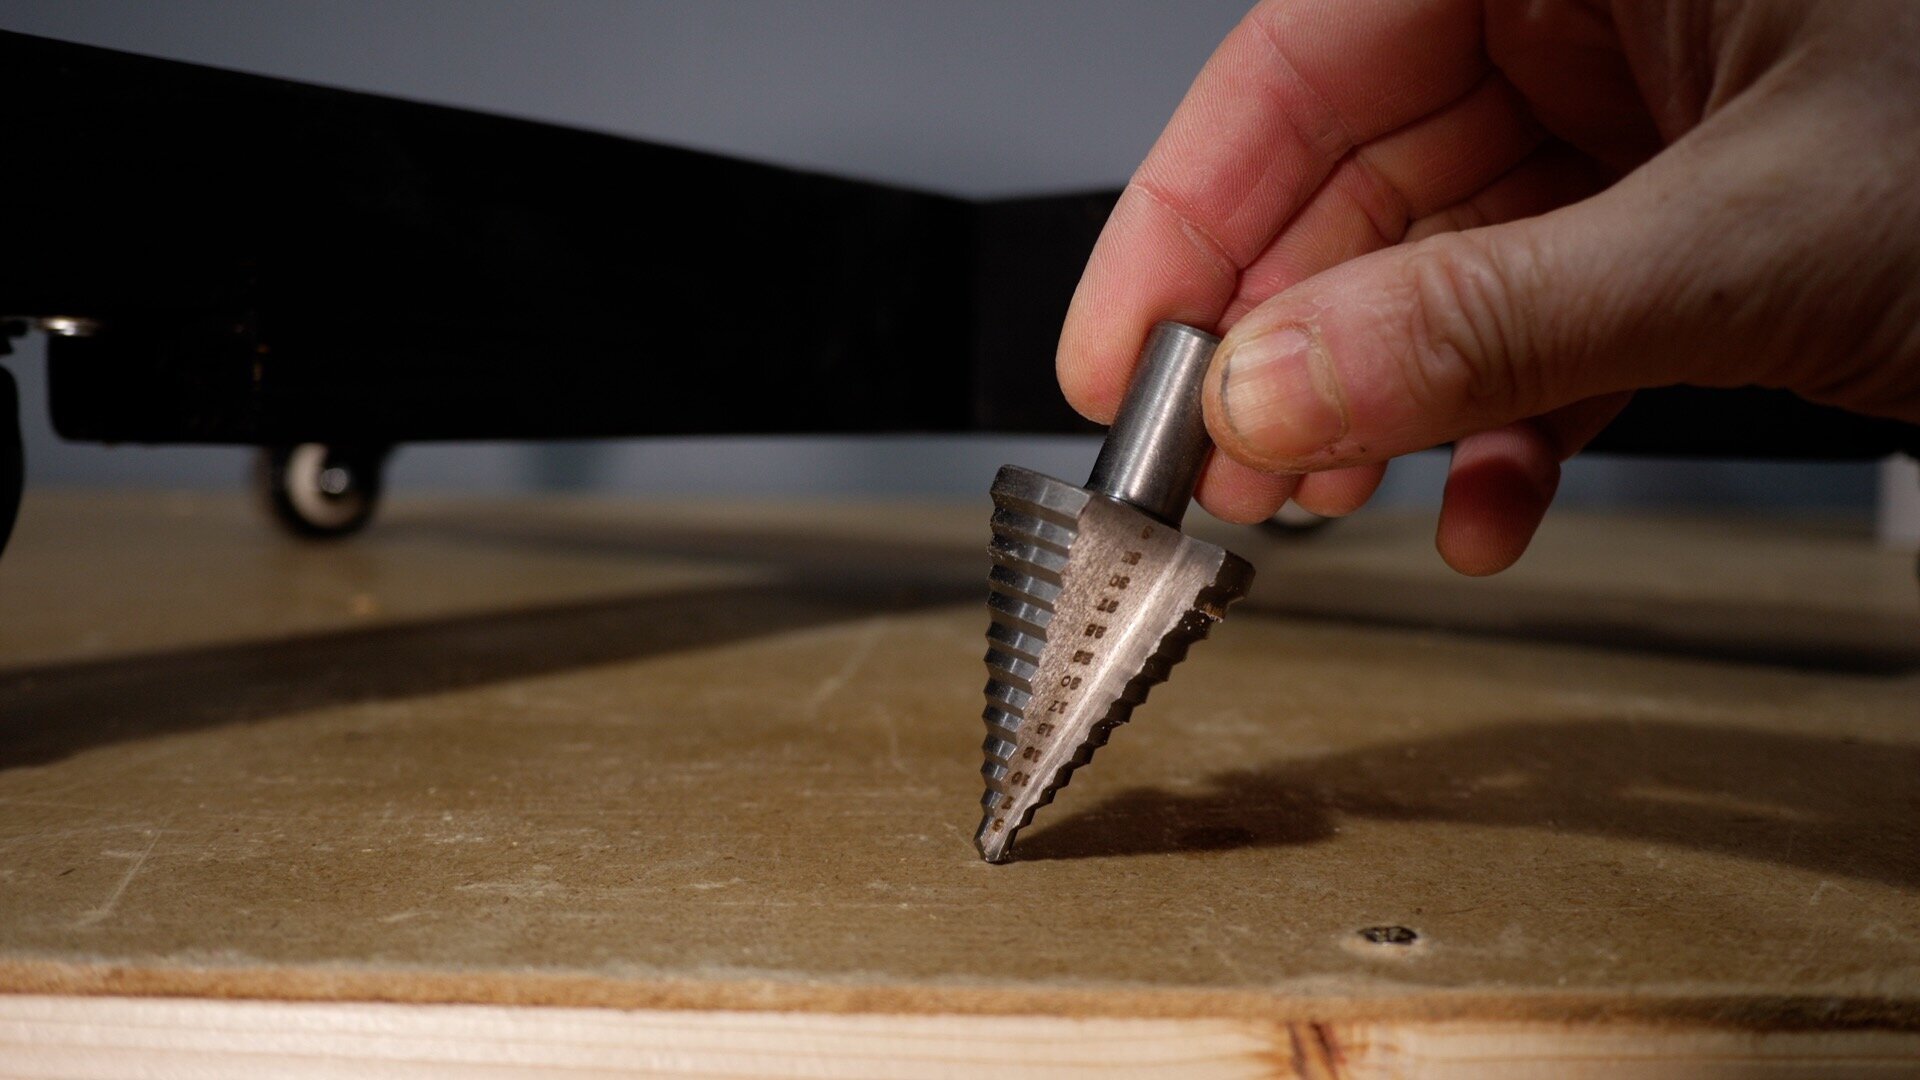
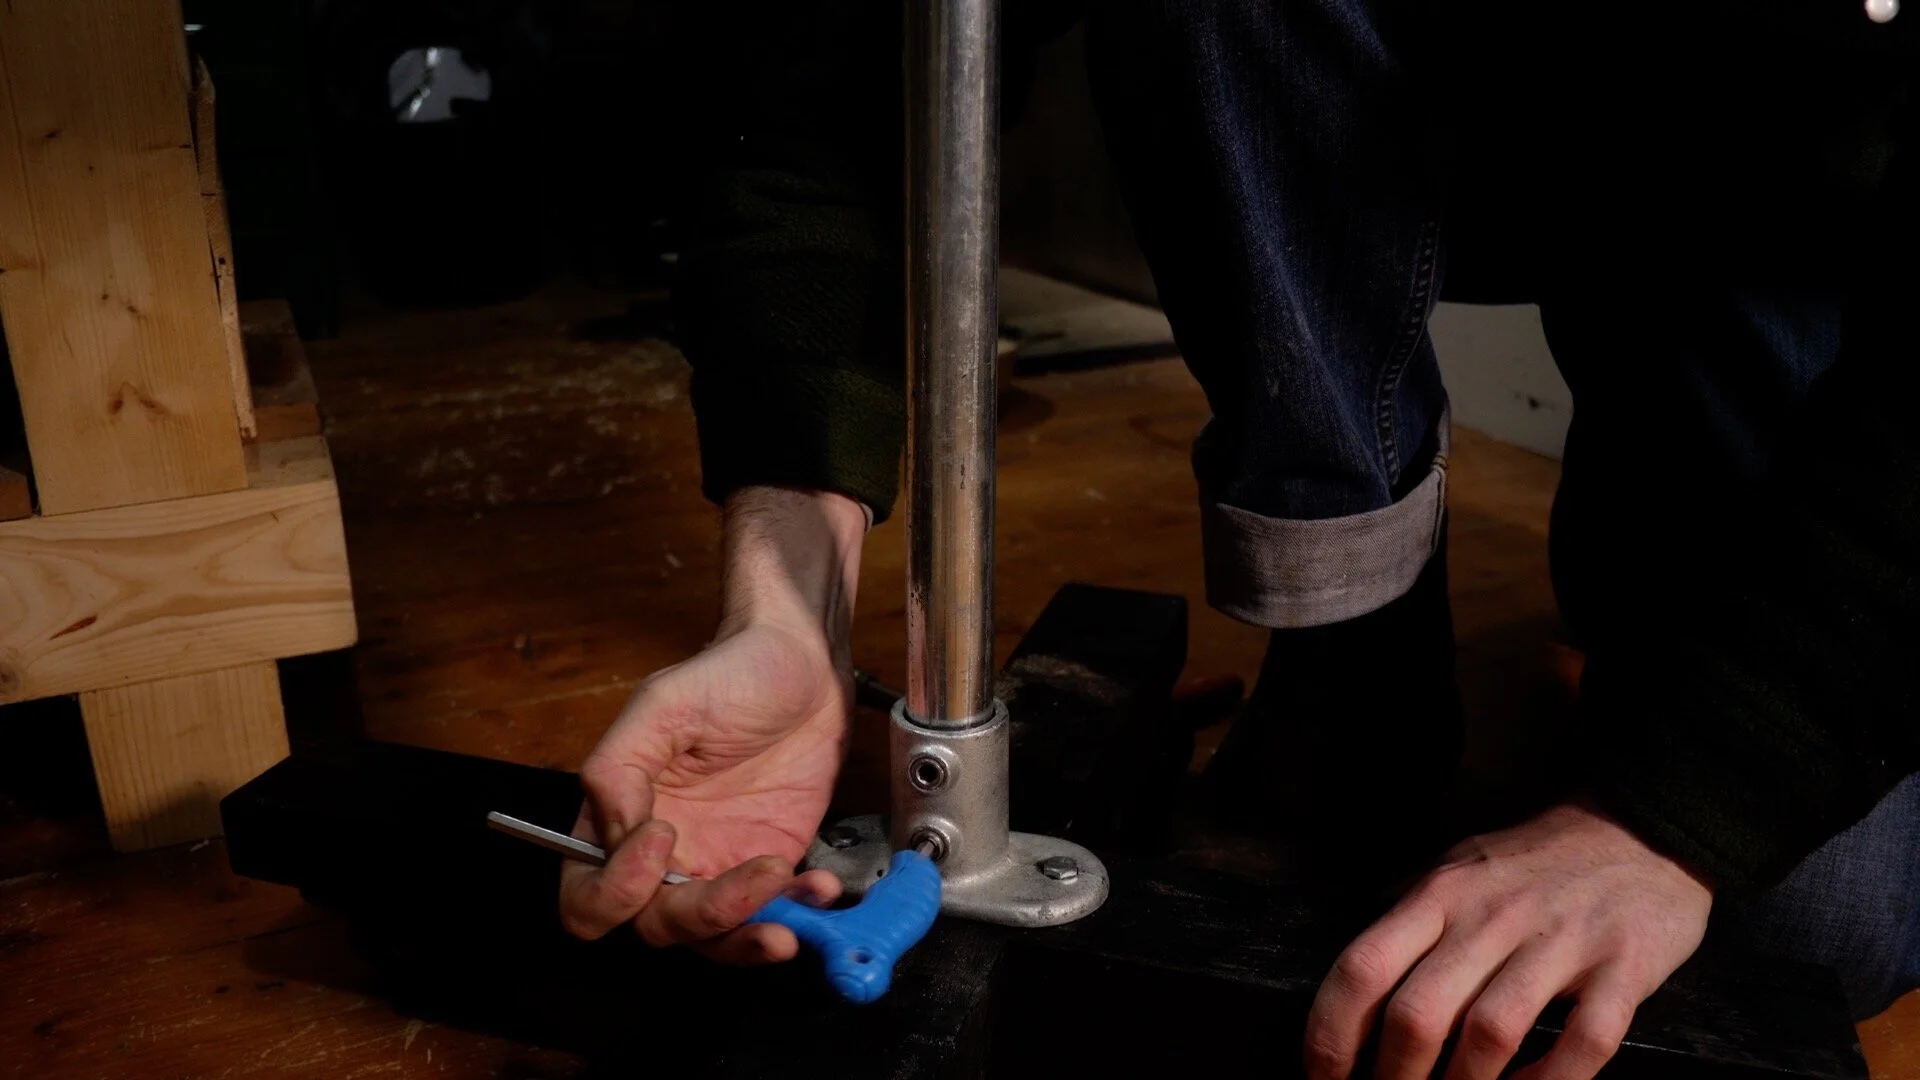
The bracket I had for the scaffold pole won’t allow the pole to slide all the way through it - I needed it to go all the way through, slipping into the hole I drilled in the wood. I used a step drill to widen the base, allowing the pole to slide through.


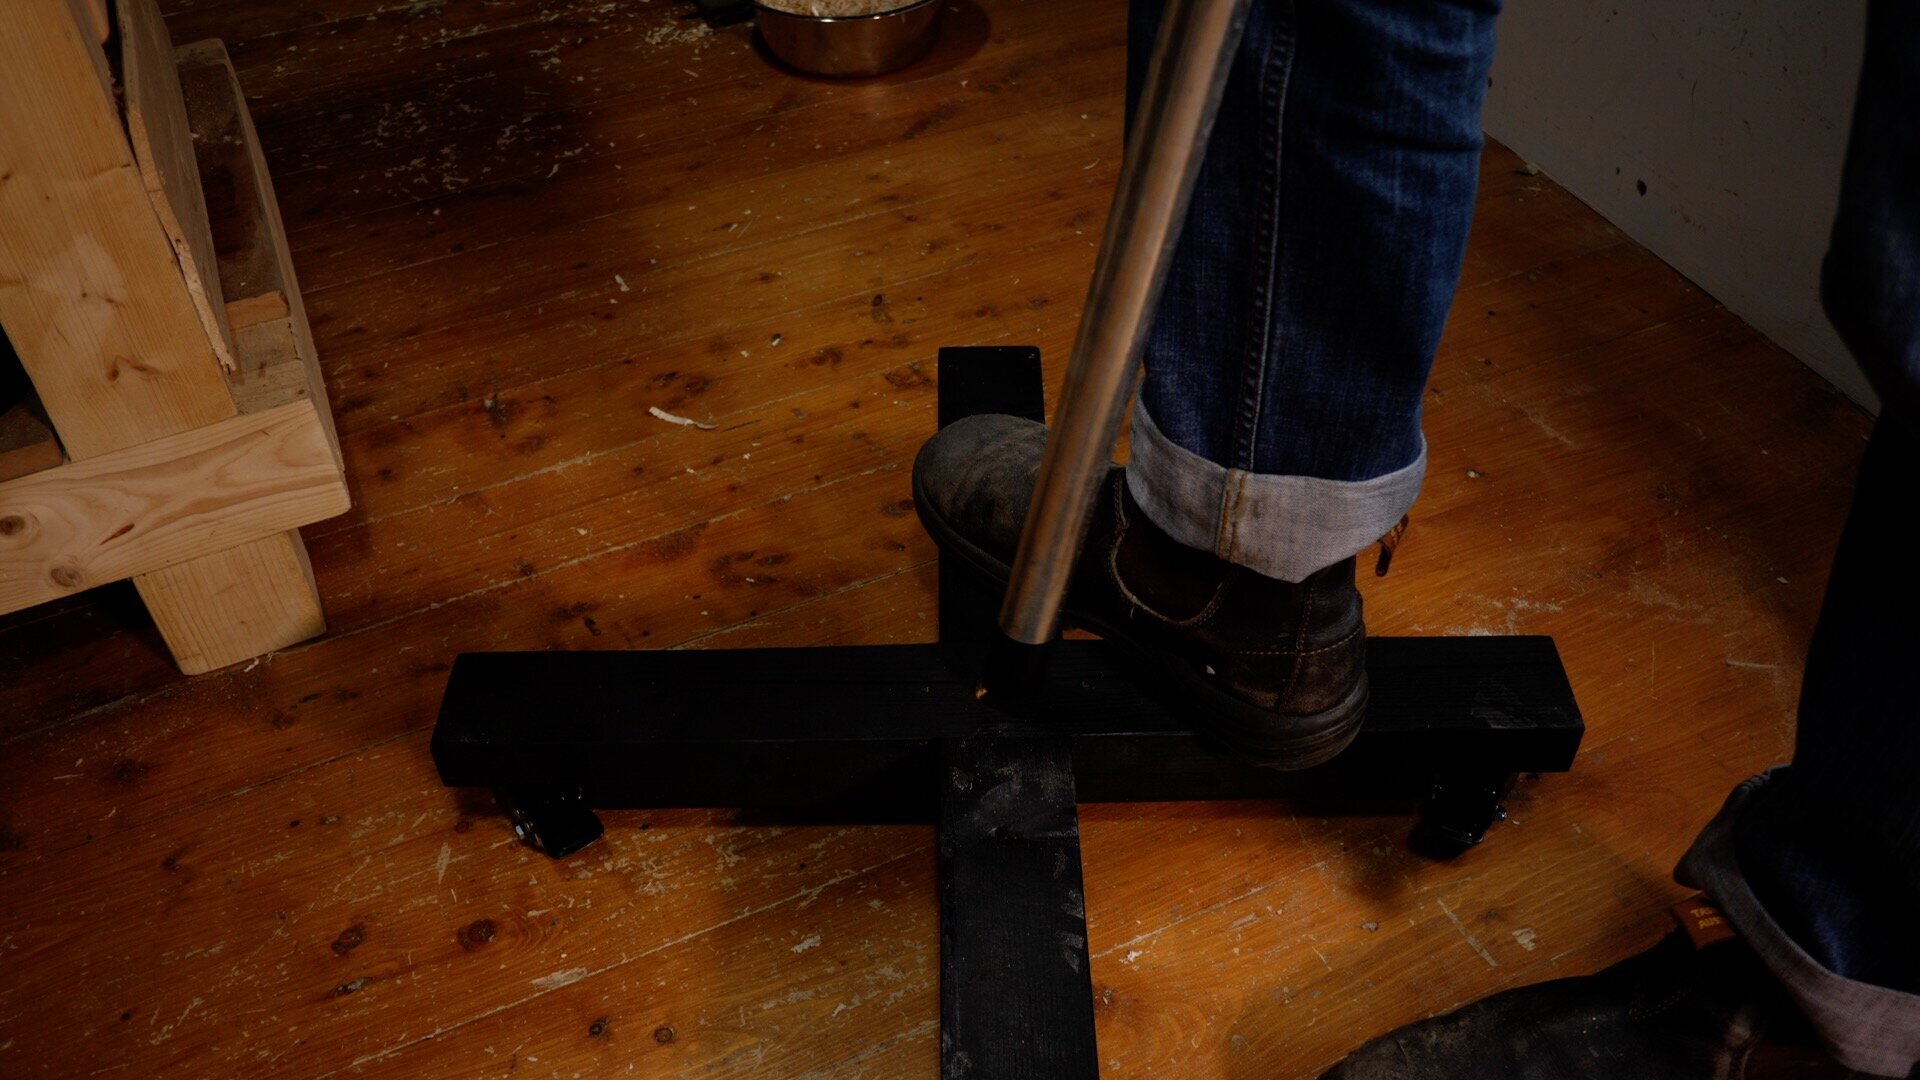
When I test-fitted the pole in the hole, it was a little looser than I wanted. I wrapped some tape around the base, which made it fit snugly in the hole.

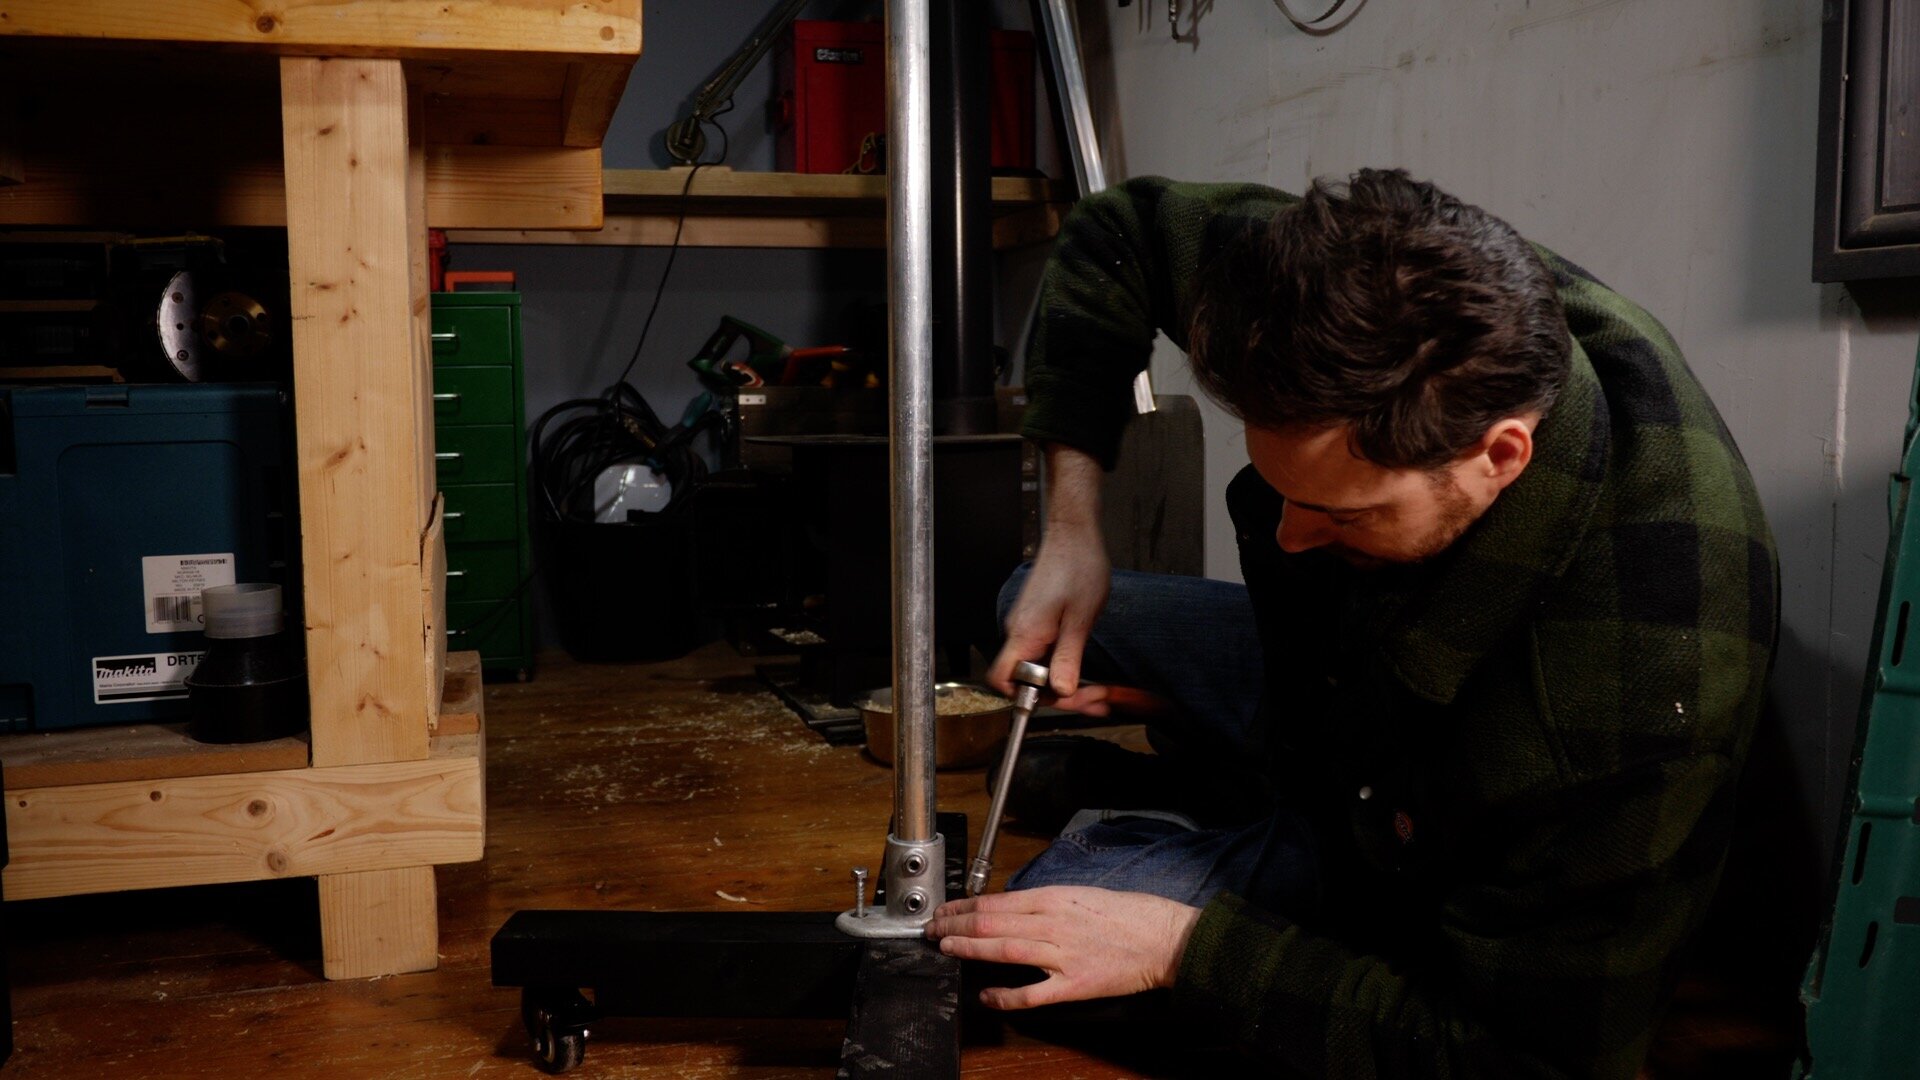
I slid the bracket down the hole and screwed it into the base. I then tightened up the grub screws, locking the pole into place.
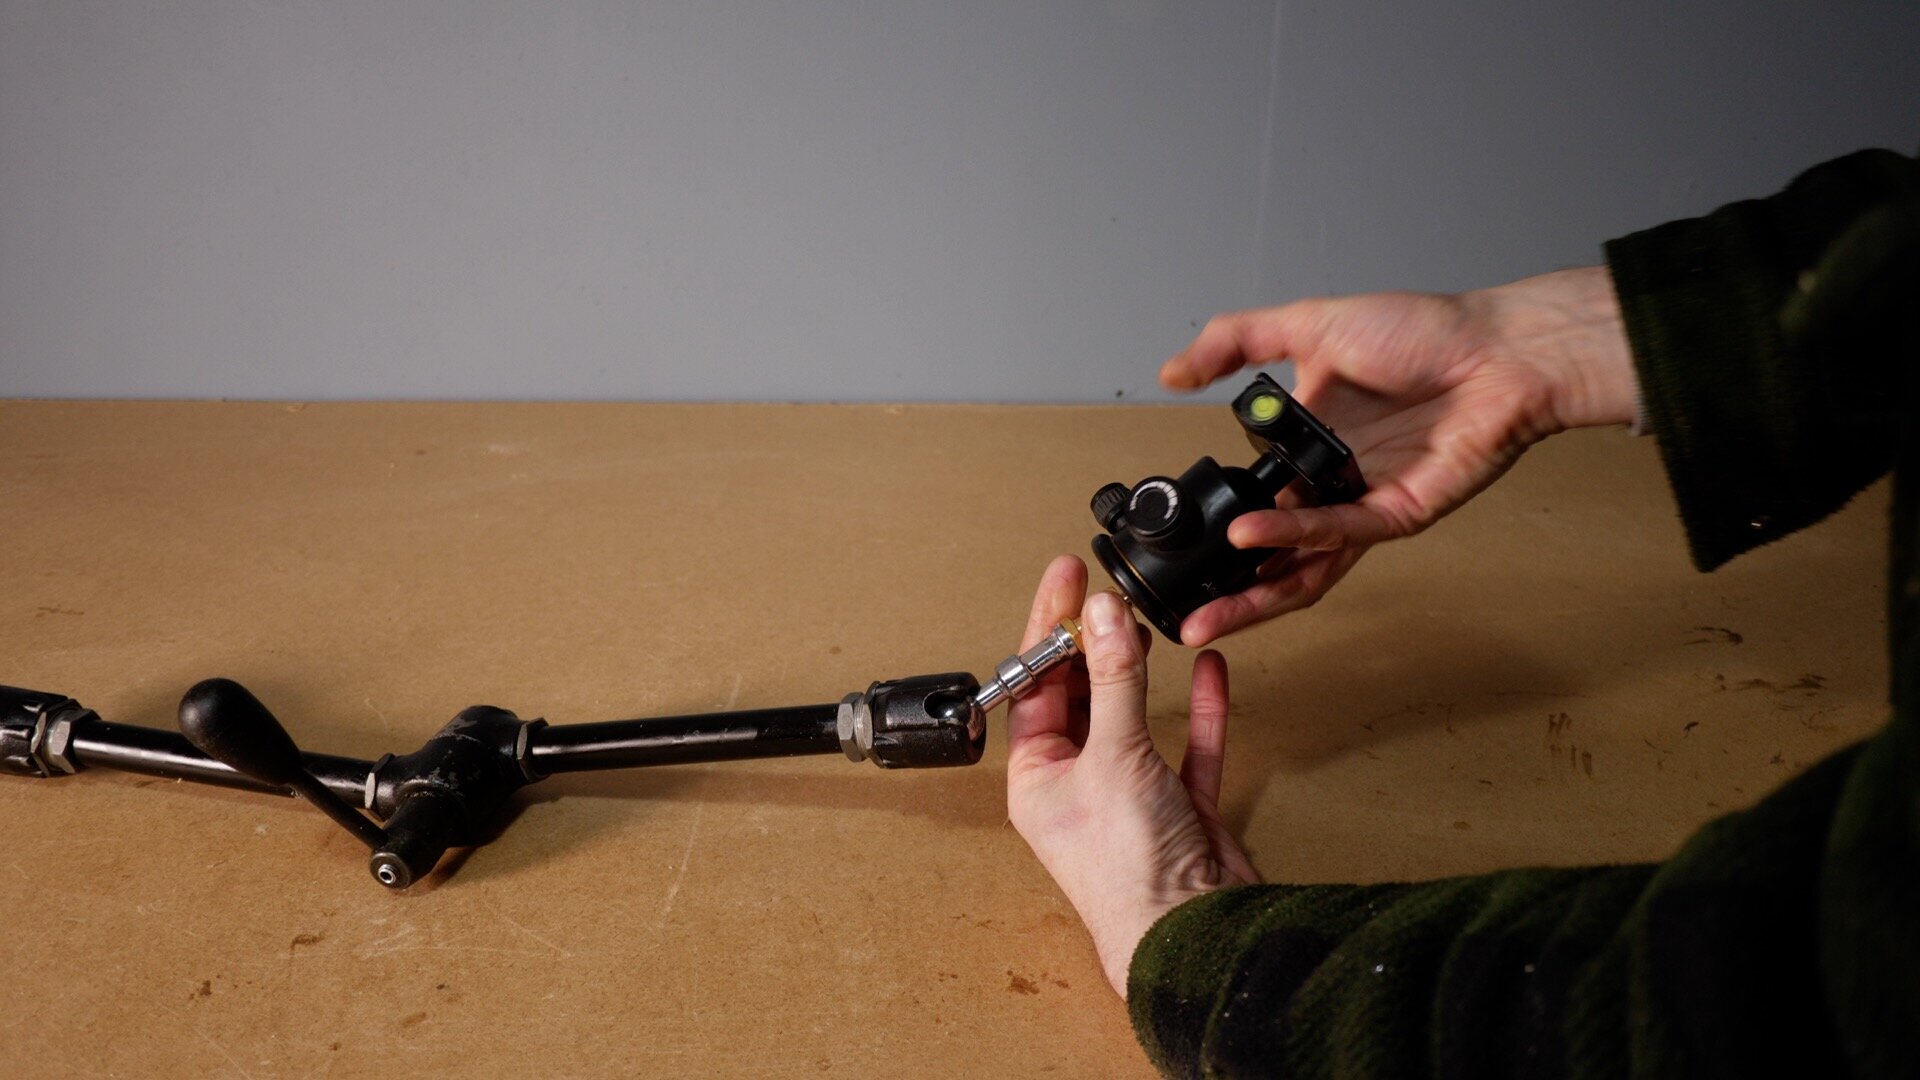
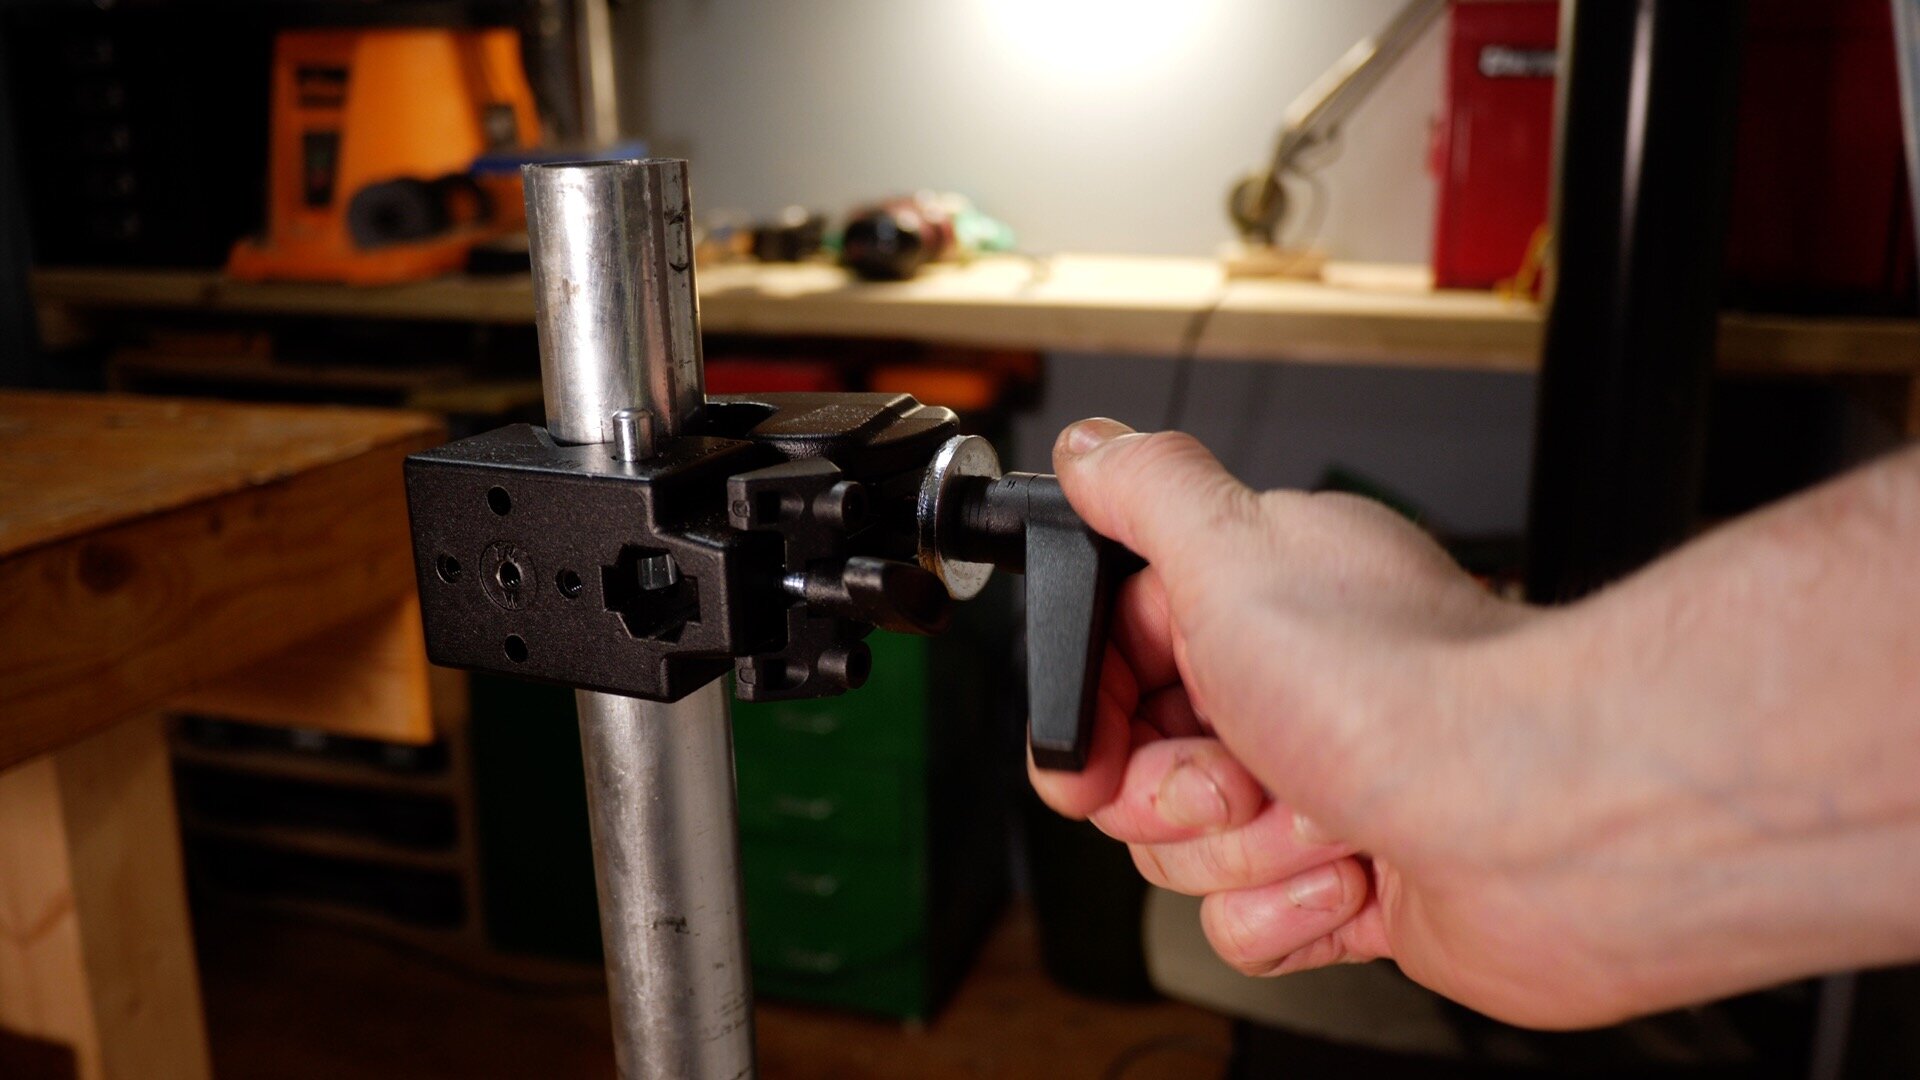

I fit the stud onto the end of the magic arm and screwed the ball head into place. The super clamp was fitted to the pole, and the arm locked into the clamp.


That’s it! This should make life much easier. The arm has one big lever that - when loosened - makes all three joints on the arm go loose. The camera can then be moved into the desired position and locked into place by tightening the lever.

For more information, please watch the video below and subscribe to me on YouTube for a new project every week.