
Making an Oak Foot Stool

Like most people, I have my favourite chair, but I thought it might be nice to be able to put my feet up. The solution? I decided to make a foot stool.


I like to keep my plans quite loose, but I drew a rough sketch of what I wanted. I looked through the timber I had on hand, and decided to use some off-cuts of oak beam I had.


I used the planer to clean up the faces of the wood, then I started ripping it down on the table saw.

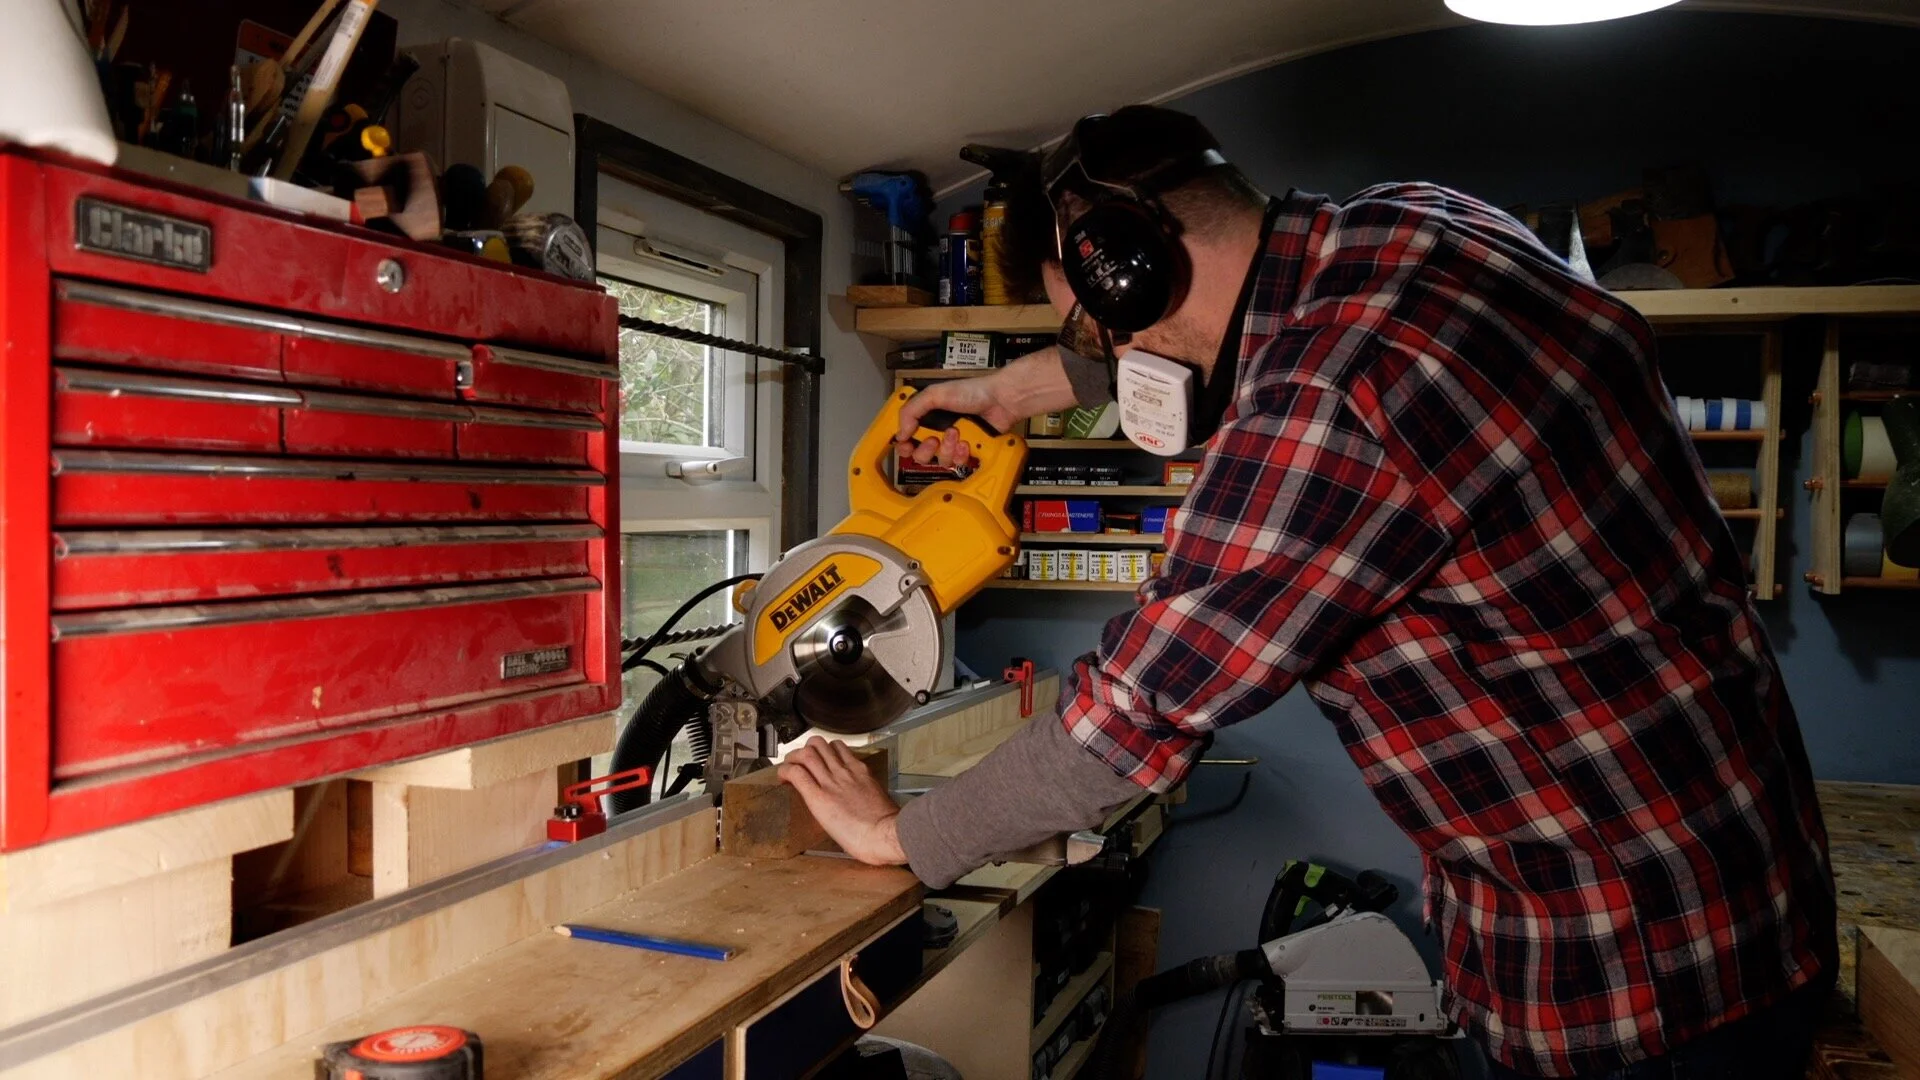
This wood was 8” thick, so I took a series of cuts, working from both sides and raising the blade each time until I had cut all the way through. I then cut the wood into square sections and trimmed them all to the same length on the mitre saw.


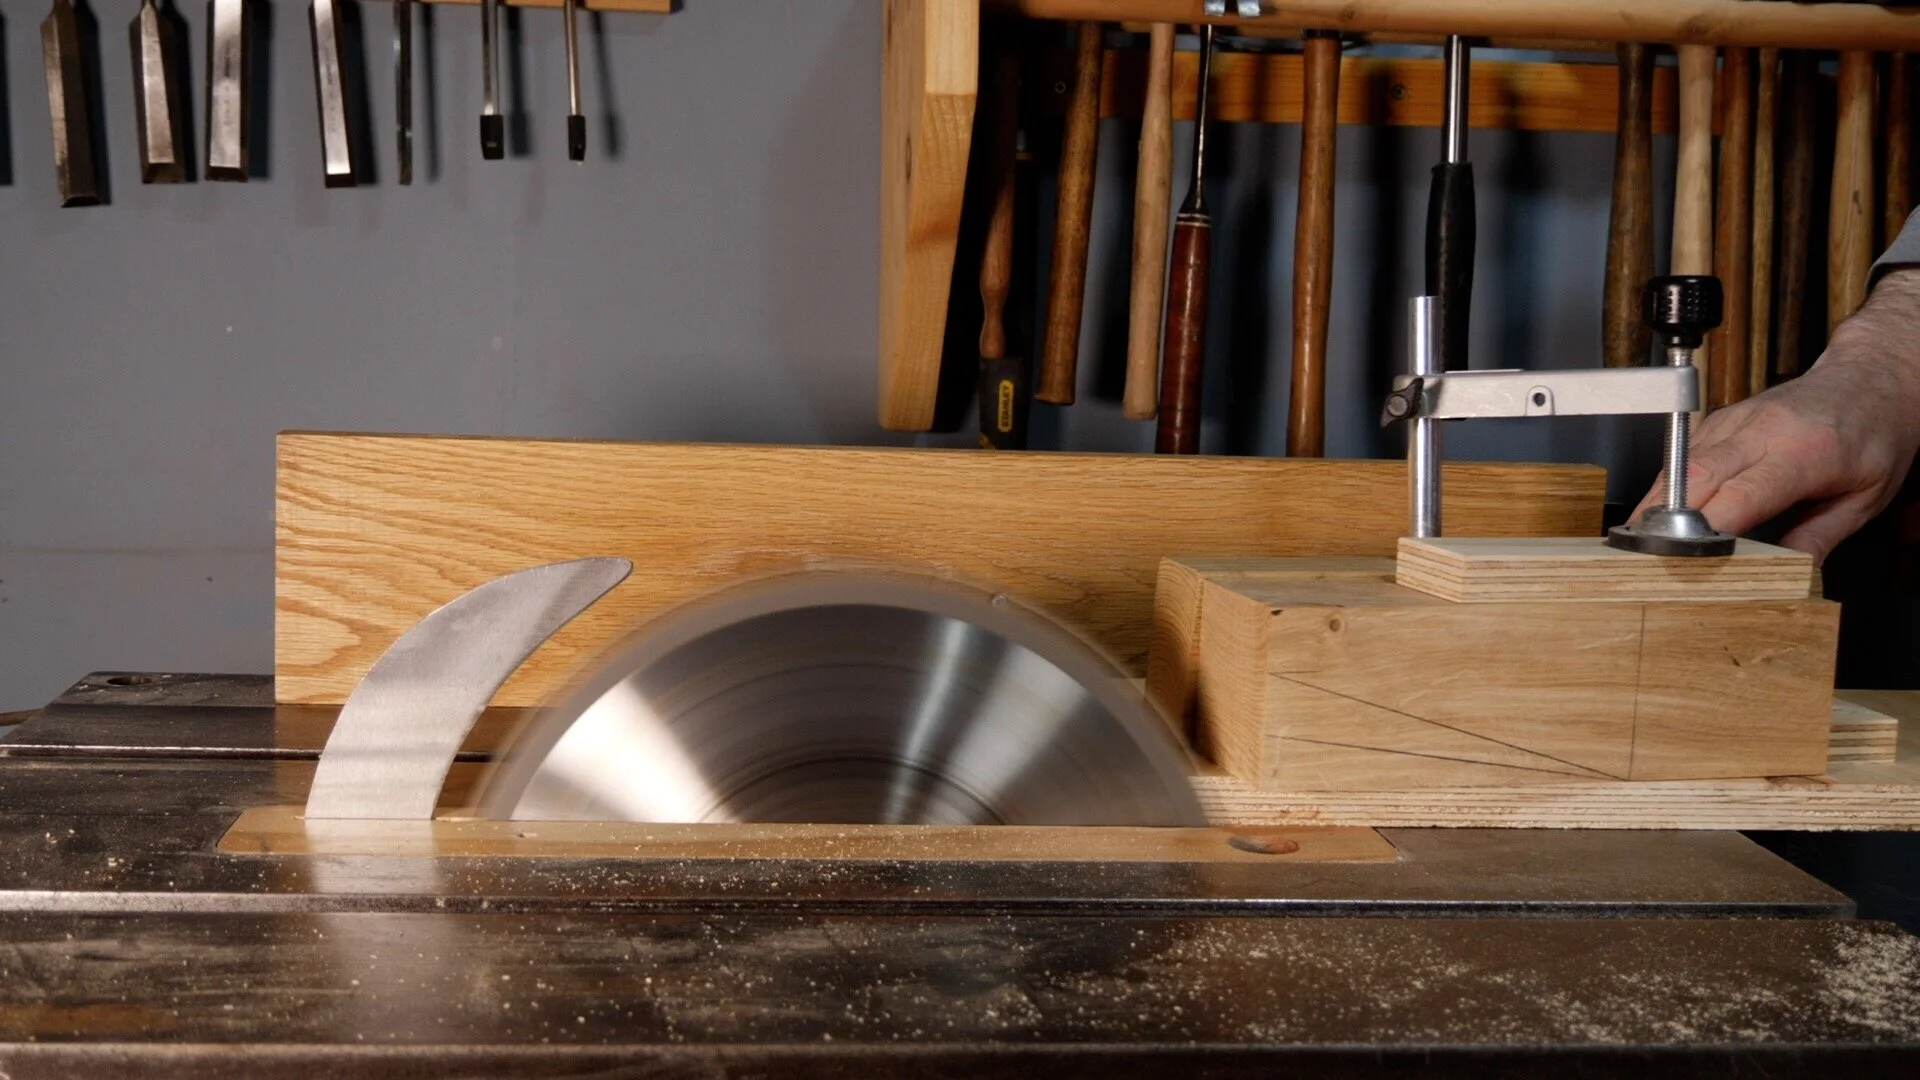
I wanted the legs to have a taper to them, cut on two faces. I marked out where I wanted the taper to go, then made a jig for the table saw to cut them. (If you want to see how I made the jig, please watch the video at the bottom of this post for more information.)


With all the tapers cut, I was able to lay out the legs and determine the sizes the aprons needed to be. To make them, I ripped down some more oak on the table saw, and cut it to length on the mitre saw.


To join everything together, I decided to use oak dowels. (I have this Triton dowel joiner, which you can find on my Amazon page if you are interested.
https://www.amazon.co.uk/shop/badgerworkshop
If you don’t have a machine like this, a drill and simple doweling jig would work just as well.) I drilled holes into all the mating pieces, then tapped the dowels into place with some PVA wood glue.


I dabbed some glue onto the faces of the joint and into the corresponding holes, then slid all the bits together. With all the joints in place, I made sure everything was square and got it clamped up.


When the glue was dry, I removed the clamps. I sanded it down, and applied a coat of my favourite Danish finish oil.


While I waited for the finish to dry, I started work on the cushioned top. I cut a piece of foam to slightly larger than the base using my bandsaw, but a serrated knife would work as well.
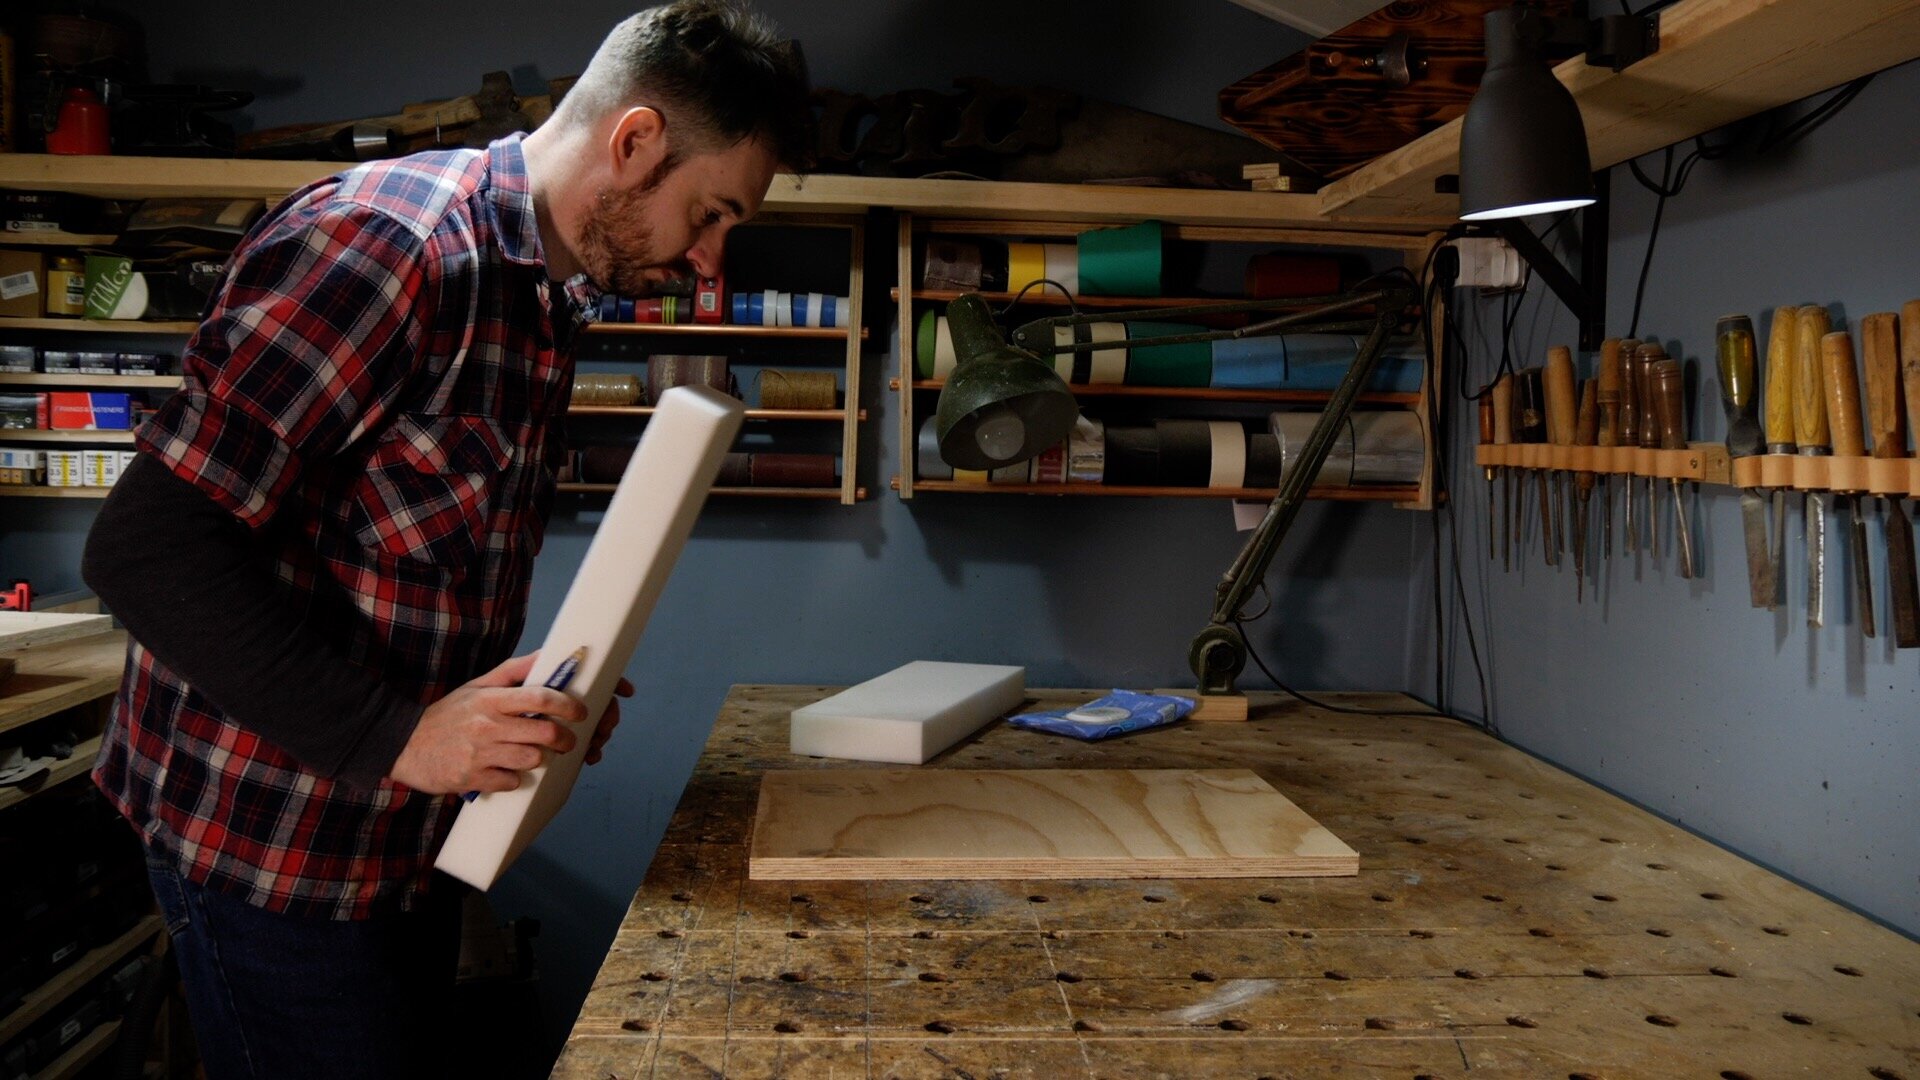

I needed a base for the foam to sit on, so I used my track saw to cut down some 18mm plywood to the same size as the foam.


I placed the foam on some wadding and cut around the foam, leaving a border wide enough to fold the wadding over the foam and plywood - I attached the wadding to the ply using a staple gun. I have not done much upholstery work, so this involved some guess work, but a staple gun makes life so much easier.


I lay out some fabric and cut around it in a similar way to the wadding, and also attached this using the staple gun.


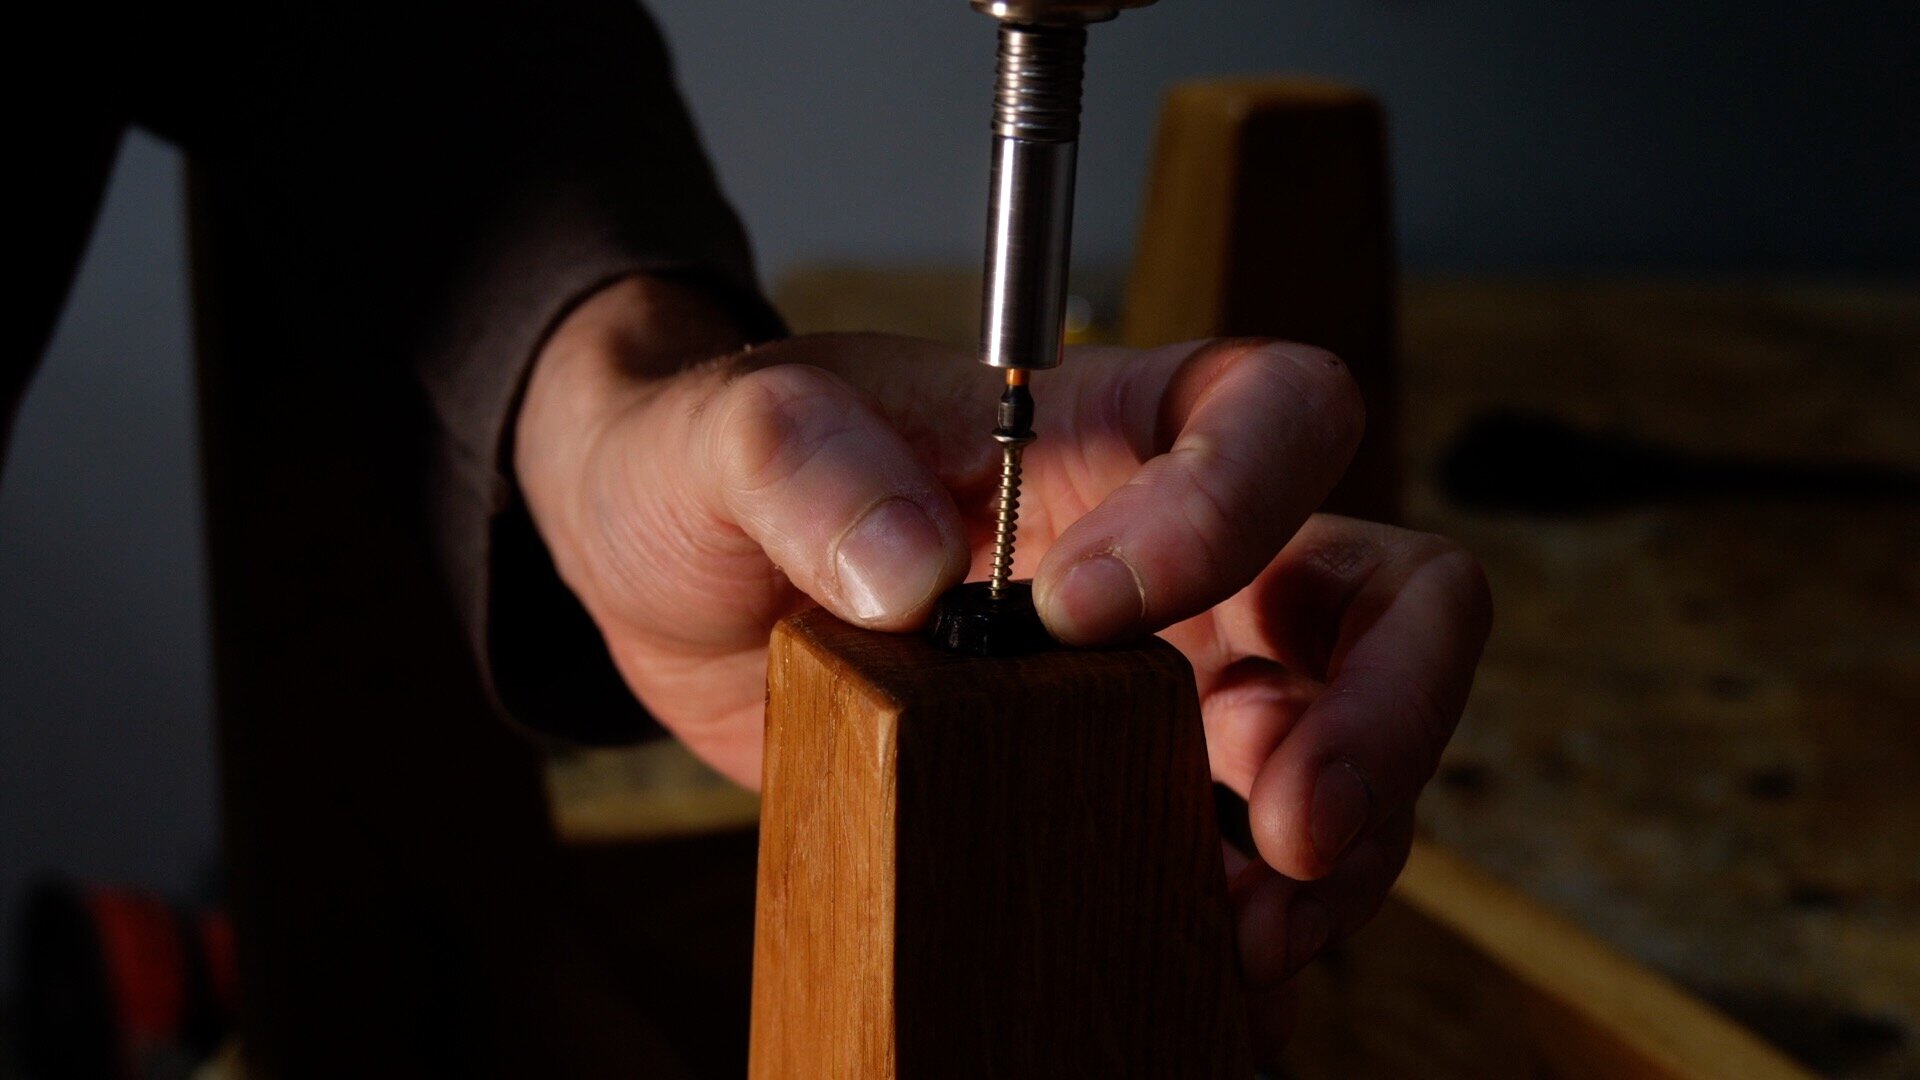
To prevent the stool from scratching my floor, I added some plastic feet to the bottom of each leg.


To the inside of the base, I attached some L shaped brackets. I then positioned the base onto the cushioned pad and screwed through the brackets to attach the two parts together.


That’s it all done! All that’s left now, is to put my feet up. I hope you enjoyed this build - if you would like more information then please watch the video below.